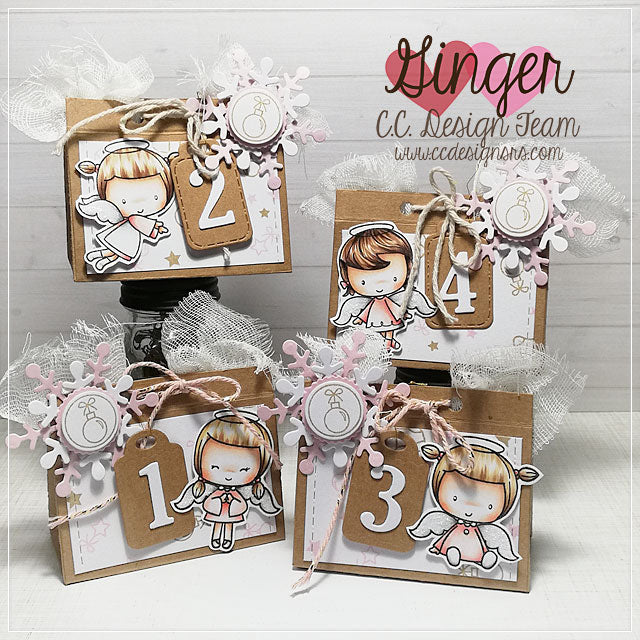
Advent calendar
Posted by DESIGN TEAM

I want to make a little Advent calendar for a friend of mine for the four Sundays in Advent and I thought, I take you with me and show you, how I do this.
At first I took the little angel stamps and colored them with Copics and cut them out. Additionally I applied some glitter on the wings.

Used Copics:
Skin: E13 - E11 _E00 - E000 -E000 and E93 for the cheeks
Hair: E49 - E57 - E27 - E25 - E31 - E 43 - Y21
Wings: N3 - N2 - N0 - 0
Dresses: R14 - R21 - R11 - 0
Highlight
in the eyes: Sakura Gelly Roll
Next step was punching out the "Treat Bag" 8 times, and 2 types of tags, 2 times each of them. I keep the small rectangles, which are actual waste, but I can use them for sayings some day.

I want to change the look of the boxes slightly to show you, that they are versatile. Unceremoniously I cut of the handles, shortened the short side parts by 1cm, added a folding line 1cm below the upper edge of the longer side parts and punch 2 holes in there for the later closure. There gets a cord trough later on. You could also glue it together, but then you have to destroy it to get the content.

Because I don't had any matching design paper, I made one by myself with the sweet little stamps from the same set as the angels. I stamped a random pattern with two colors on white card stock. I punched it out and shortened it to match the dimensions of my box.

I glued on the design paper and assembled the box. Works best using strong tape or liquid glue.

Now put on the second part and press it on, then fold up the sides and glue them on with strong adhesive glue.

After that I only had to decorate the boxes, for this I used among other things the circles of the die set "Candy Wrapper" in combination with the stamps from the small "Ticket" stamp set.


I hope you liked my little tutorial and I look forward to get feedback from you!
Kind regards, your Ginger


