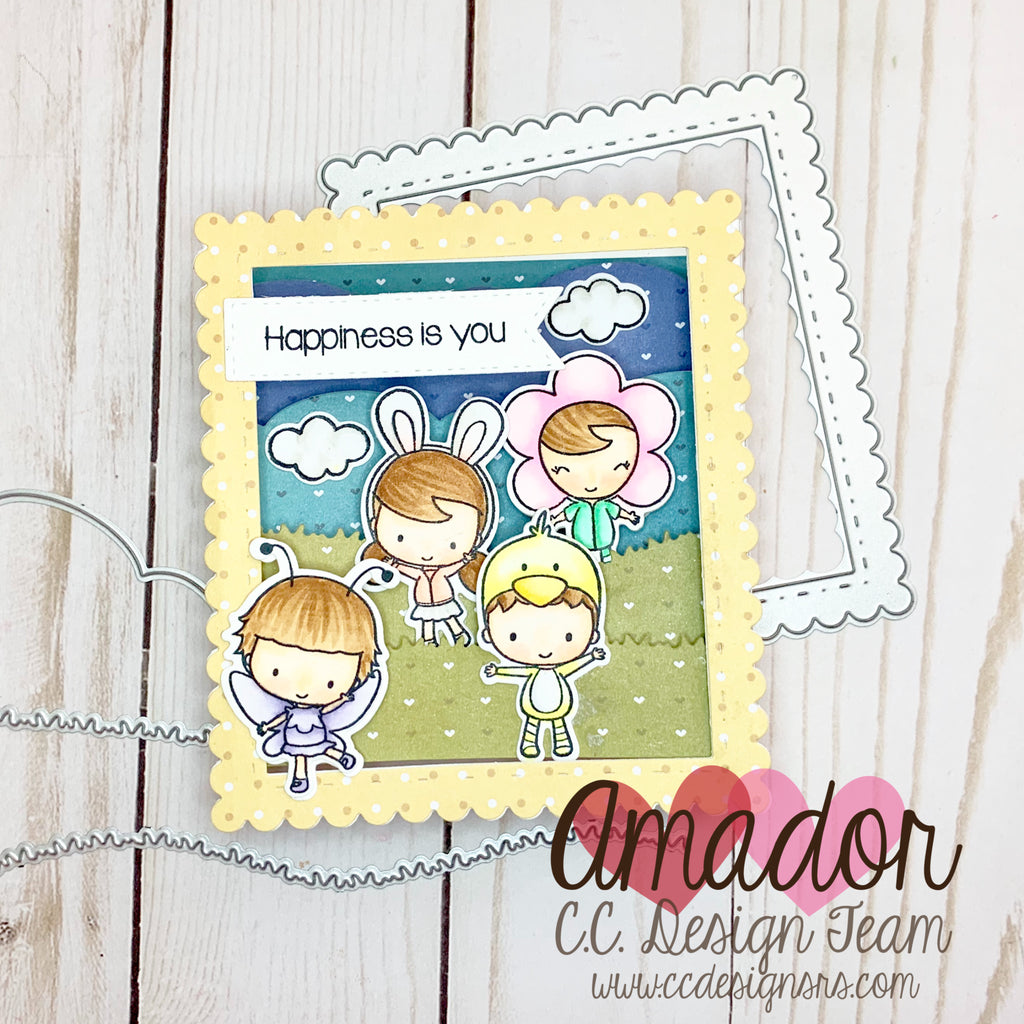
Spring Shadow Box Card Tutorial
Posted by DESIGN TEAM

Hello all, Amador here and welcome to my tutorial for a sweet Spring Shadow Box Card. I used the Spring Things Stamp & Spring Things Die Set to accent this DIY Shadow Box Card made from the In & Out Rectangle die set.

To create this card you start with heavyweight cardstock for all of the base parts. The box is created with a 4 1/4”x6 1/” and scored at 1/4”, 1 1/4”, 5”, 6 1/4” on the landscape side. The front and back will have the In & Out Rectangle diets for accents.

The the layers are all 3”x4 1/4” wide From the Hearts & Dots Paper Pad and scored at 1/4” on each end to adhere to the sides of the shadow box. The layers are all cut with Cloud & Grass Die set in different levels to layer your little critters on. After each layer is adhered fold the box card to the opposite side to make sure it is glued down.

The Cloud & Grass layers are adhered to each side of the shadow box at different heights to give you a dimensional effect.

Once the base is finished you will at a double layer of the In & Out Rectangles to the front and the back. The top layer is also cut from the Hearts & Dots Paper Pad.

Now it’s time to create your scene with all of your colored critters and sentiment banner that is diecut from the small banner out of the Quad Collage Die Set. I finished off the side with patterned paper from the Hearts & Dots Paper Pad in 1” & 4 1/4” strips.

The February Release is now available in the C.C. Designs Store. Also check out the C.C. Designs Blog ,Facebook Page and follow C.C. Designs on Instagram for more inspiration for this and many other releases.
Please consider using my C.C. Designs referral Link:
Click HERE for link.
Thank you,
Amador
Products used on the project:
Spring Things Stamp Set
Spring Things Clear Stamp Set
Spring Things Diet Set
In and Out Rectangle Die Set
Hearst said & Dots Paper Pad
Quad Die Set
Sizzix Bog Shot Express Machine
Big Shot Machine
TAGS:


