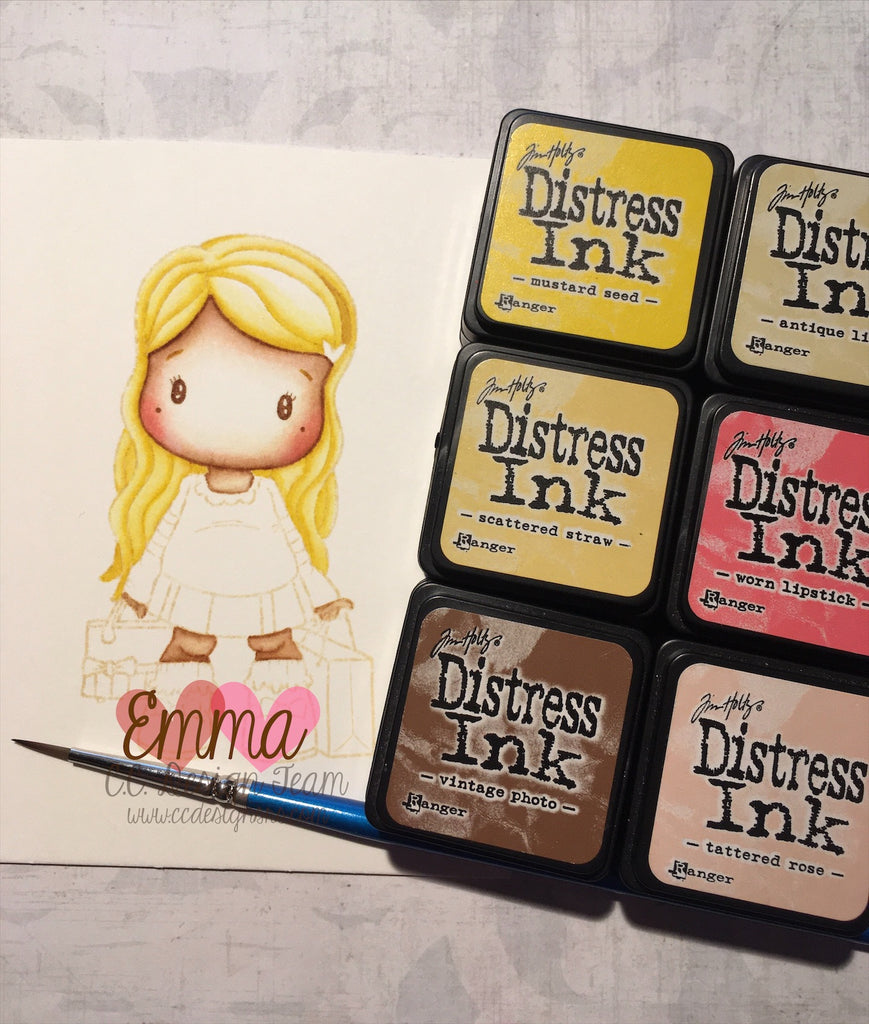
💗 Distress Ink Skin & Hair Tutorial 💗
Posted by DESIGN TEAM

Hello friends! Following last weeks inspiration I’m sharing with you today my process of colouring skin and hair with Tim Holtz distress inks. Please be aware I am no colouring expert, this is just the way that works for me. ☺️

Skin:

Skin:
Step 1 - Stamp image in Antique Linen distress ink.
Step 2 - Add some Vintage photo Distress ink to an acrylic block and with a damp paint brush, I’m using a size 1 here, take a little and add it to your image.
Step 3 - Rinse off your paint brush in some clean water, blot off the excess and spread the ink out towards the middle.
Step 4 - Add some more ink and spread out again towards the centre.
Step 5 - Continue this process until you have finished your first layer on all the skin areas.
Step 6 - Leave to dry naturally or use a heat gun.
Step 6 - Leave to dry naturally or use a heat gun.

Step 7 - With a clean damp brush add some Tattered Rose to the skin. Repeat the process on all the skin areas.
Step 8 - Leave to dry naturally or use a heat gun.
Step 8 - Leave to dry naturally or use a heat gun.
Step 9 - Add a little Worn Lipstick to the cheek areas, rinse off your brush in clean water and Spread it out in small circular motions.
Step 10 - Leave to dry naturally or use a heat gun.

Hair:
Step 10 - Leave to dry naturally or use a heat gun.

Hair:
Step 11 - With a clean damp brush add some Scattered Straw to the front of the hair line, rinse your brush in clean water and spread out towards the centre.
Step 12 - Add this to all the hair lines working your way up towards the top of the head.
Step 13 - Leave to dry naturally or use a heat gun.
Step 12 - Add this to all the hair lines working your way up towards the top of the head.
Step 13 - Leave to dry naturally or use a heat gun.
Step 14 - If you like the look at this point feel free to miss this next step. I’ve added some Mustard Seed as my second layer for a bit more brightness. Repeat steps 11 and 12.
Step 15 - Leave to dry naturally or use a heat gun.
I hope this tutorial was helpful for you today. I can’t wait to see what you create! Happy colouring.
Hugs, Emma xoxo
TAGS:


