
Teen Swissie Afro Hair Tutorial
Posted by DESIGN TEAM

Happy Tuesday everyone! It's Rosie here today sharing a tutorial on how I created an Afro hairstyle for Teen Swissie on the card I made during release week. I use Copic Markers for my main coloring medium.
STEP 1: I stamped my image onto Xpress-It Blending Card using C.C. Designs Black Olive Ink Pad, and colored his skin using E11, E13, E15, E37, E18. Next, I used Copic Black 100 to create the base squiggly lines. This helps to hide the stamped hair line. At the top of the pic you can see how I scribbled the marker to create random circles (I scribble clockwise and counter-clockwise to fill in the space). I left some large open circles, because I'm going to fill those in with some brown.


STEP 2: I bring in E49 and continue to add squiggly lines to fill in more of the white areas.


STEP 3: I bring in E47 and continue to add squiggly lines filling in more of the white space.


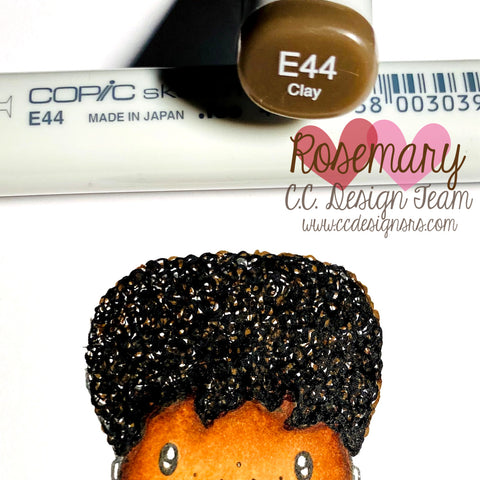
STEP 4: For the final step, I bring in E44 and add dots over the hair to fill in the white spots especially those closer to his face.

This is the final result of his hair all colored in.

Here he is on the final card. I hope this inspires you to try a different hairstyle on your C.C. Designs characters!

Hugs,
Rosie
TAGS:
Tracy On
Thank you for sharing this tutorial. I have been wanting to try different hair styles and skins tones but didn’t where to start. Great card too. Creative Blessings, Tracy
Rosana On
Thank you. Beatiful
Martha On
Thank you. I have been really disappointed at not being able to find stamps that reflect my children and family. I will try on the stamps I have and it has changed how I’m looking at future purchases.
Linda On
Great tutorial, thank you 😊