C.C. Tutorials — DT Rosemary
Teen Swissie Afro Hair Tutorial
Posted by DESIGN TEAM
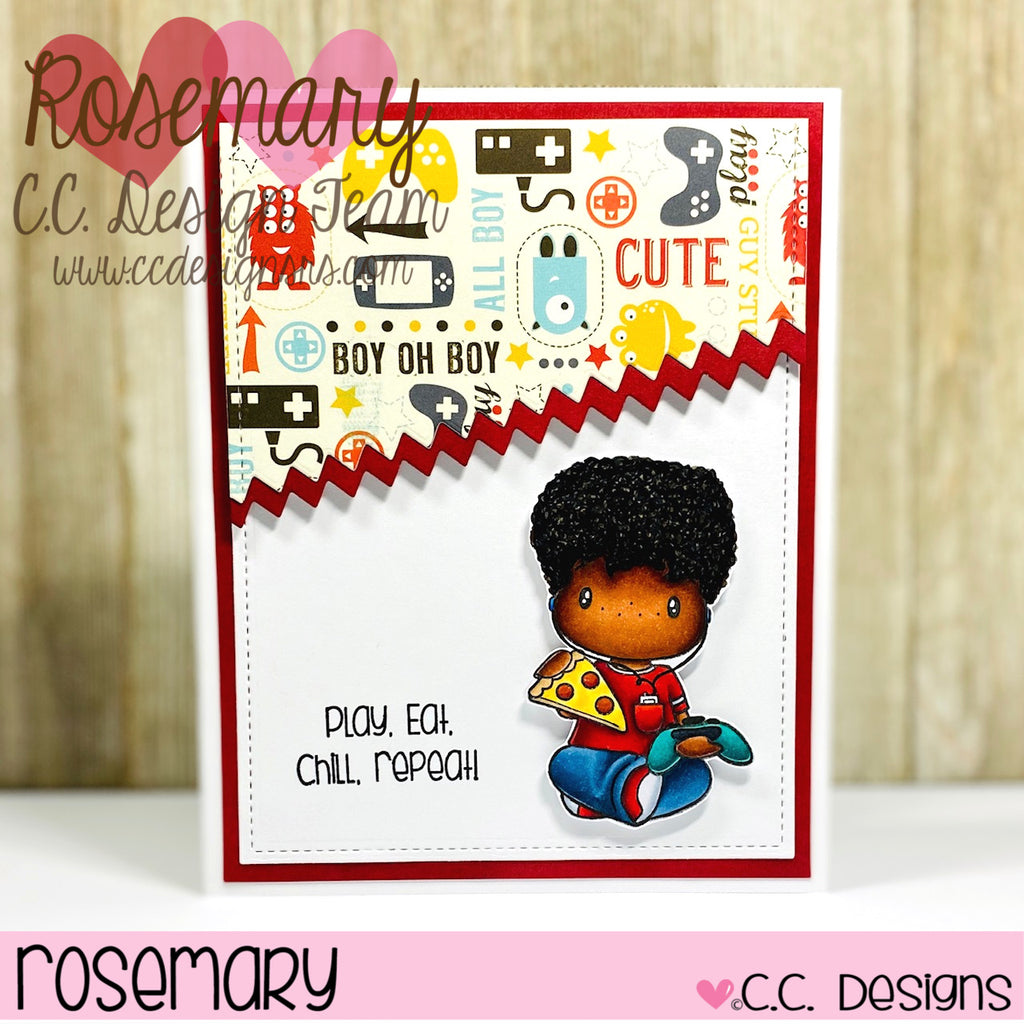
Happy Tuesday everyone! It's Rosie here today sharing a tutorial on how I created an Afro hairstyle for Teen Swissie on the card I made during release week. I use Copic Markers for my main coloring medium. STEP 1: I stamped my image onto Xpress-It Blending Card using C.C. Designs Black Olive Ink Pad, and colored his skin using E11, E13, E15, E37, E18. Next, I used Copic Black 100 to create the base squiggly lines. This helps to hide the stamped hair line. At the top of the pic you can see how I scribbled the marker to create...
Watercolor Rain Background Tutorial
Posted by DESIGN TEAM
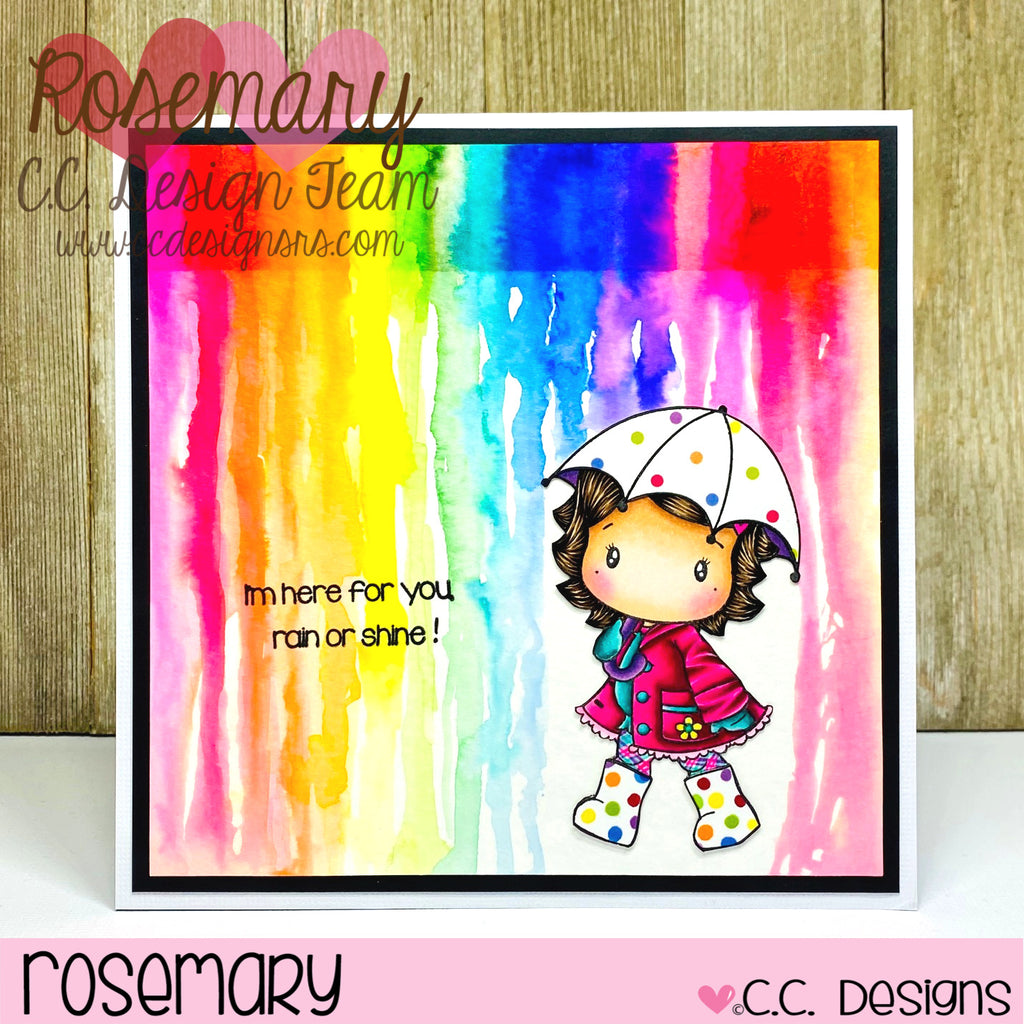
Happy Tuesday everyone! It's DT Rosie here today to share the details on how I created the watercolor rain background for this Umbrella Swissie card that I showcased a couple of weeks ago. I remember a few years ago there were a ton of crayon melting tutorials going around creating "rain" around a silhouette of a person holding an umbrella. I knew I wanted to recreate something like that when I saw this umbrella image. A lot of my craft stuff is still in boxes from moving, and I haven't yet located my stash of crayons or my heat gun....
Gingerbread Lane Gold Embossing Tutorial
Posted by DESIGN TEAM
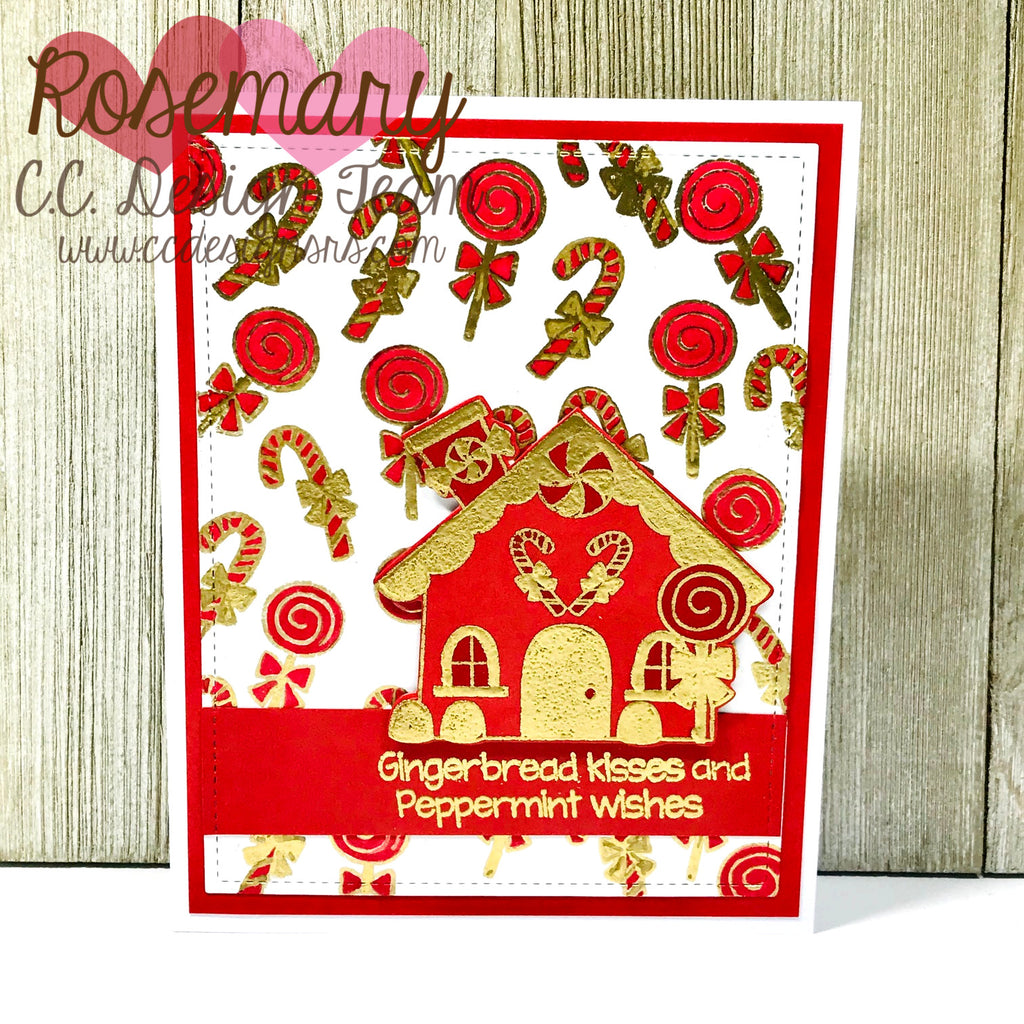
Happy Tuesday everyone! Today, I'm sharing an embossing tutorial using various C.C. Designs products. I mentioned on a previous post that I love the look of gold embossing powder with red. I created a couple of cards at the beginning of November showcasing the Gingerbread Lane Clear Stamps with gold embossing HERE. I made a different card today using the same stamp set, but I also created an embossed background panel. Step 1: Gather all your supplies. For this card I used Gingerbread Lane Clear Stamps, Gingerbread Lane Outline Die, a sentiment from the Christmas Swiss Pixie Clear Stamps, Embossing...
Make A Reindeer Die Coloring Tutorial
Posted by DESIGN TEAM
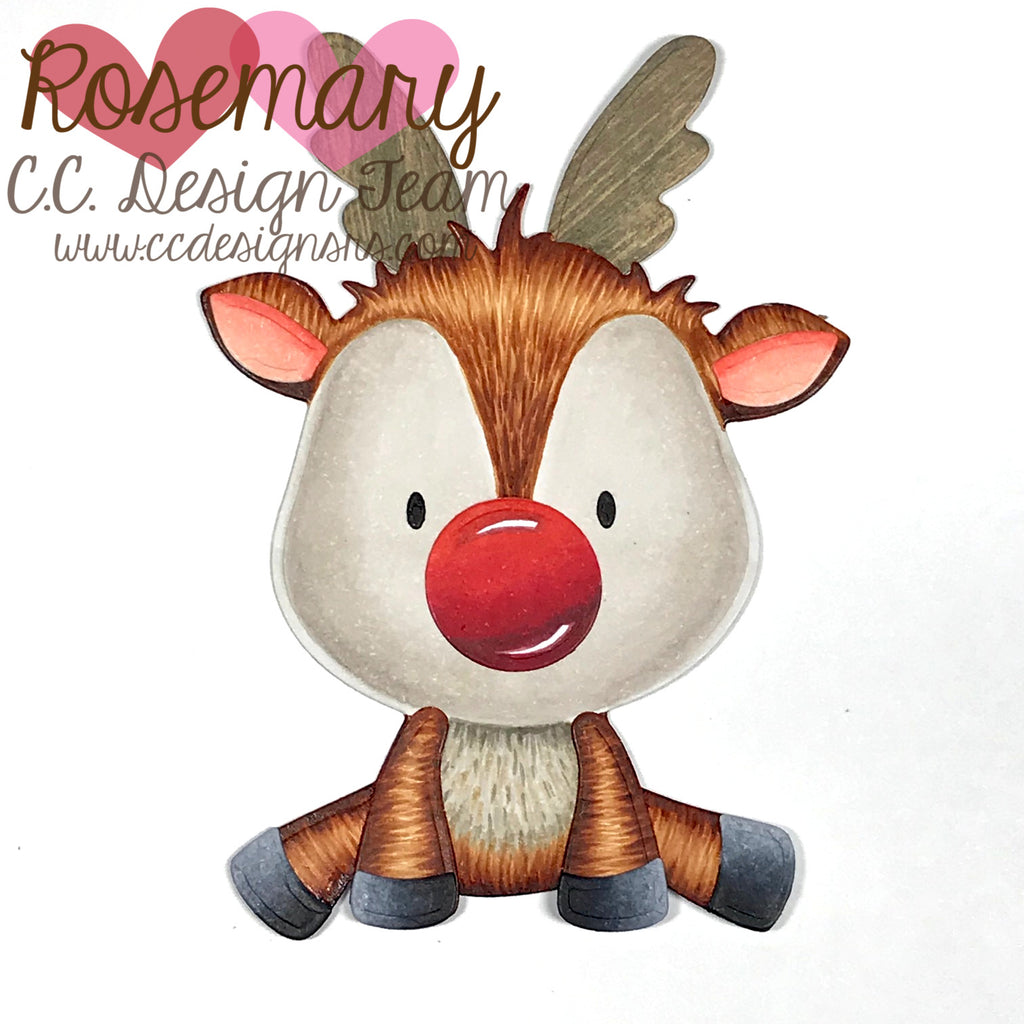
Happy Tuesday everyone! I received a lot of compliments and inquiries on how I colored the Make A Reindeer Die from C.C. Designs so I created a step-by-step coloring tutorial to guide you through the process. I hope this helps you color your own Reindeer die-cut. I'm going to focus this tutorial on coloring the main body of the reindeer with Copic Markers. Here we go! Step 1: I cut all the pieces of the die from Xpress-It Blending Card. Step 2: I used a pencil to draw in the areas of the face and body that I'm going to...
April & May Rain Shaker Card Tutorial
Posted by DESIGN TEAM
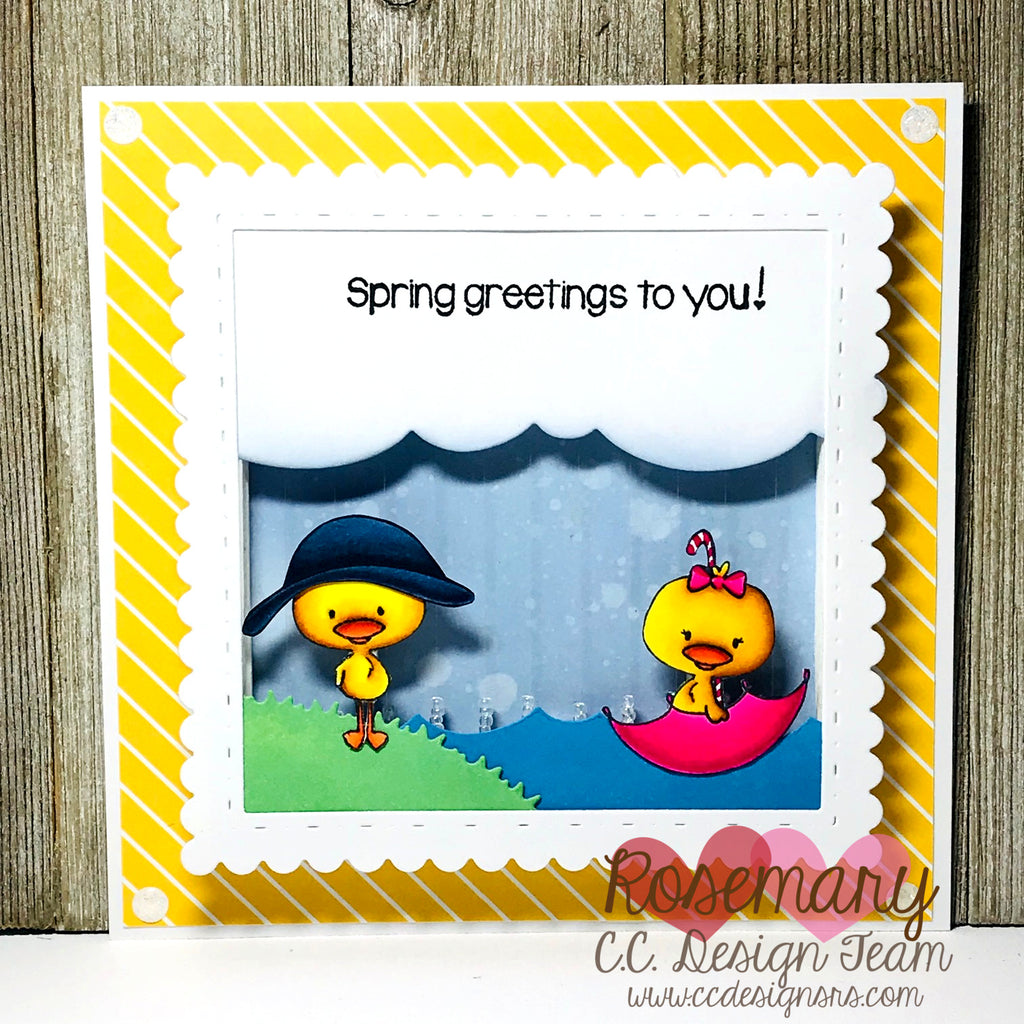
Happy Tuesday everyone! It's Rosie here today sharing written instructions on how I created this cute Rain Shaker Card inspired by Laura Dovalo Rasi. Step 1: First, I gathered up the supplies I needed to make the card and colored my paper and images. SUPPLIES: April & May Clear Stamps, In and Out Square Metal Die, Cloud and Grass Die, Distress Oxide Inks, Foam Tape, Glass Beads, Clear Thread, Scor-Tape. I colored the ducks from the April & May Clear Stamp Set. The rain hat on the standing duck was cut out from the bear stamp. I used the Cloud...


