C.C. Tutorials — DT Emma
💗 Distress Ink Skin & Hair Tutorial 💗
Posted by DESIGN TEAM

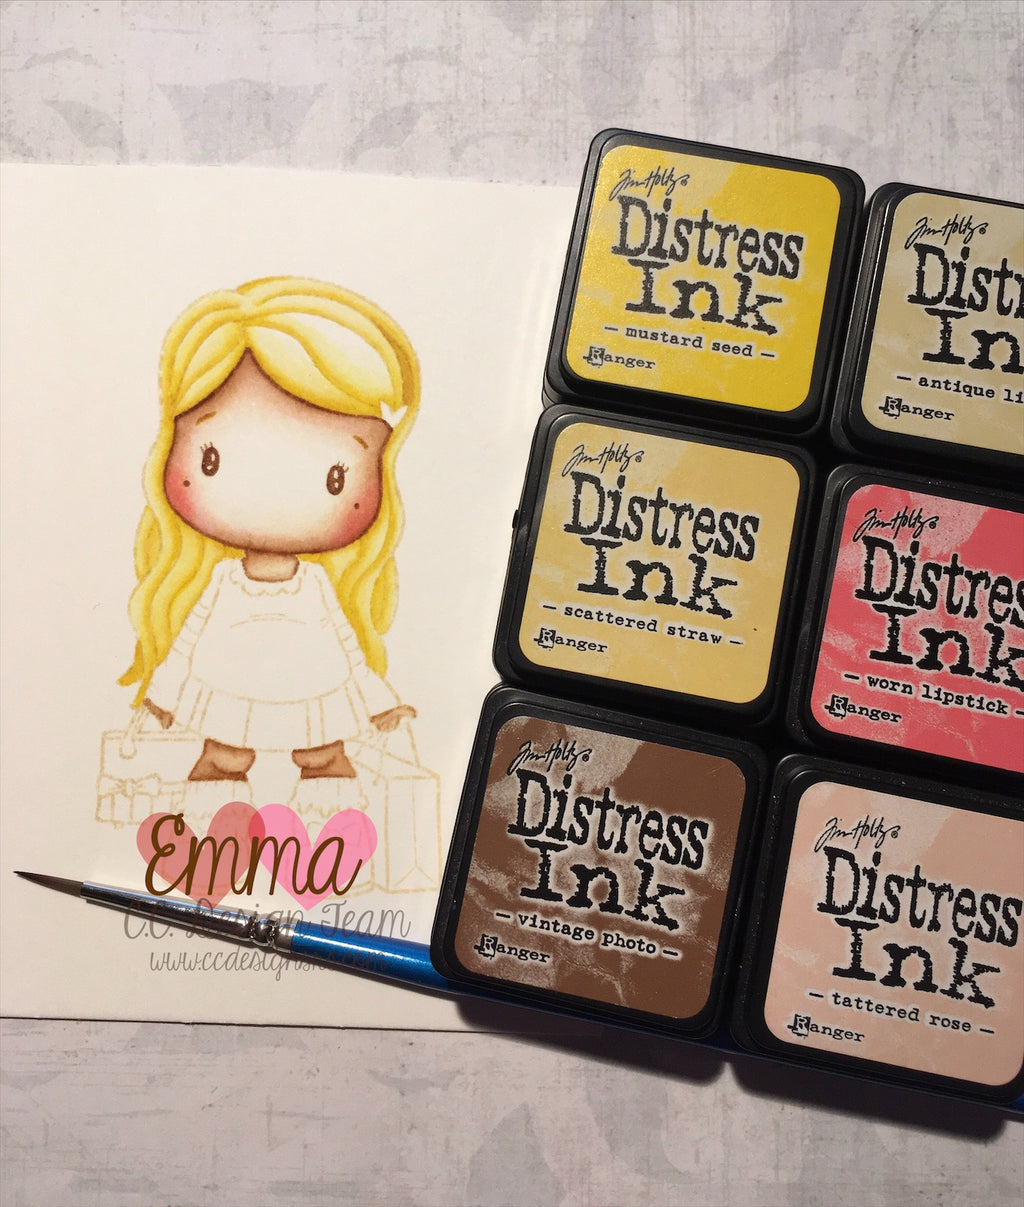
Hello friends! Following last weeks inspiration I’m sharing with you today my process of colouring skin and hair with Tim Holtz distress inks. Please be aware I am no colouring expert, this is just the way that works for me. ☺️Skin: Step 1 - Stamp image in Antique Linen distress ink. Step 2 - Add some Vintage photo Distress ink to an acrylic block and with a damp paint brush, I’m using a size 1 here, take a little and add it to your image. Step 3 - Rinse off your paint brush in some clean water, blot off the...
Foxes Wood Slice Magnet Tutorial
Posted by DESIGN TEAM

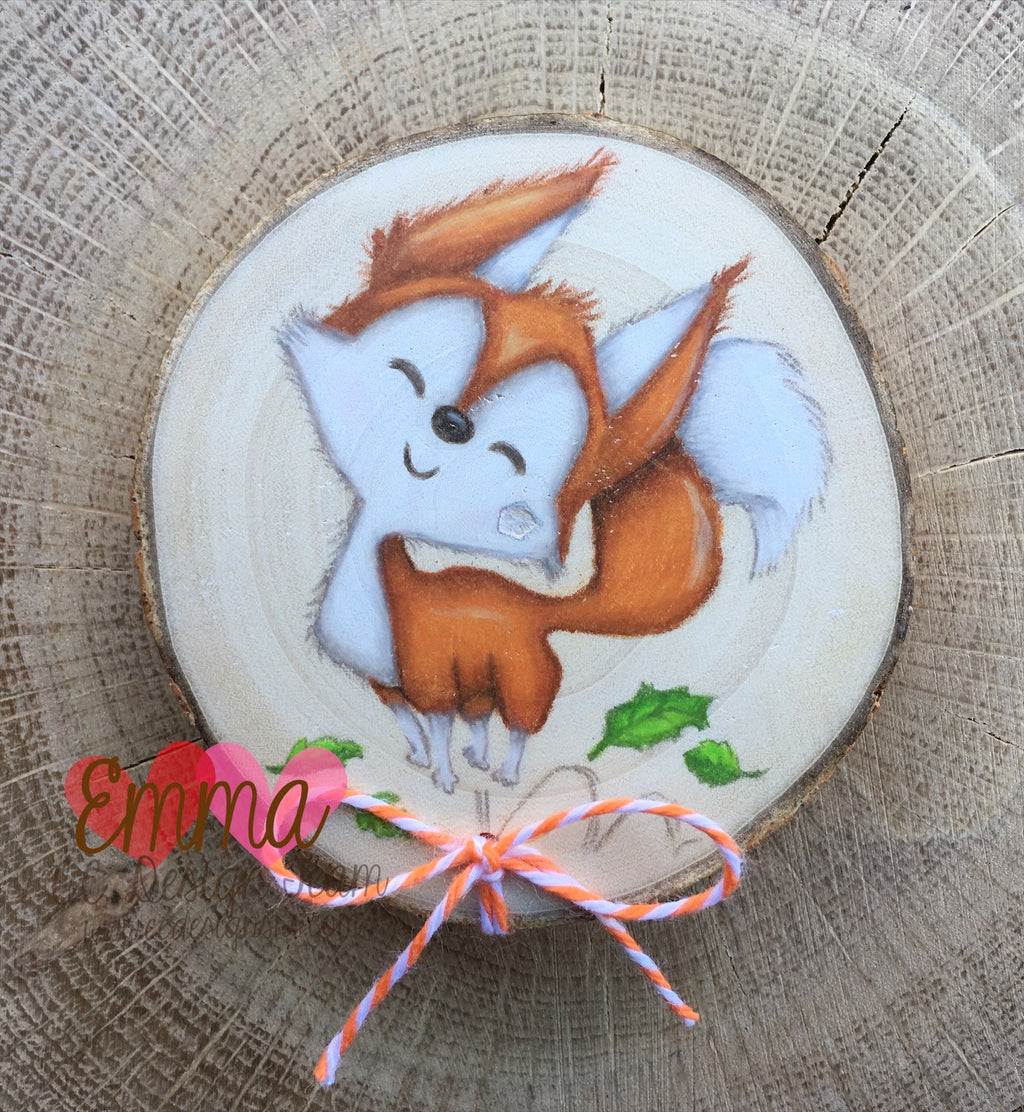
Hello lovelies I have a quick and easy tutorial to share with you today on how I made my super cute wood slice magnets. Step 1: Gather your supplies. I used a 3” wood slice made of pine, Ink on 3 Fadeout ink but any light coloured ink would work, Prismacolor pencils and the gorgeous NEW Foxes clear stamp set. Step 2: Make sure your wood slice is smooth! You don’t need to prime it but if your wood is rough it will need to be sanded down first. Stamp your image directly on to the wood and then begin...


