
Easter Basket Tutorial: 10 Minutes to Cuteness
Posted by DESIGN TEAM

Hi Crafty Friends,
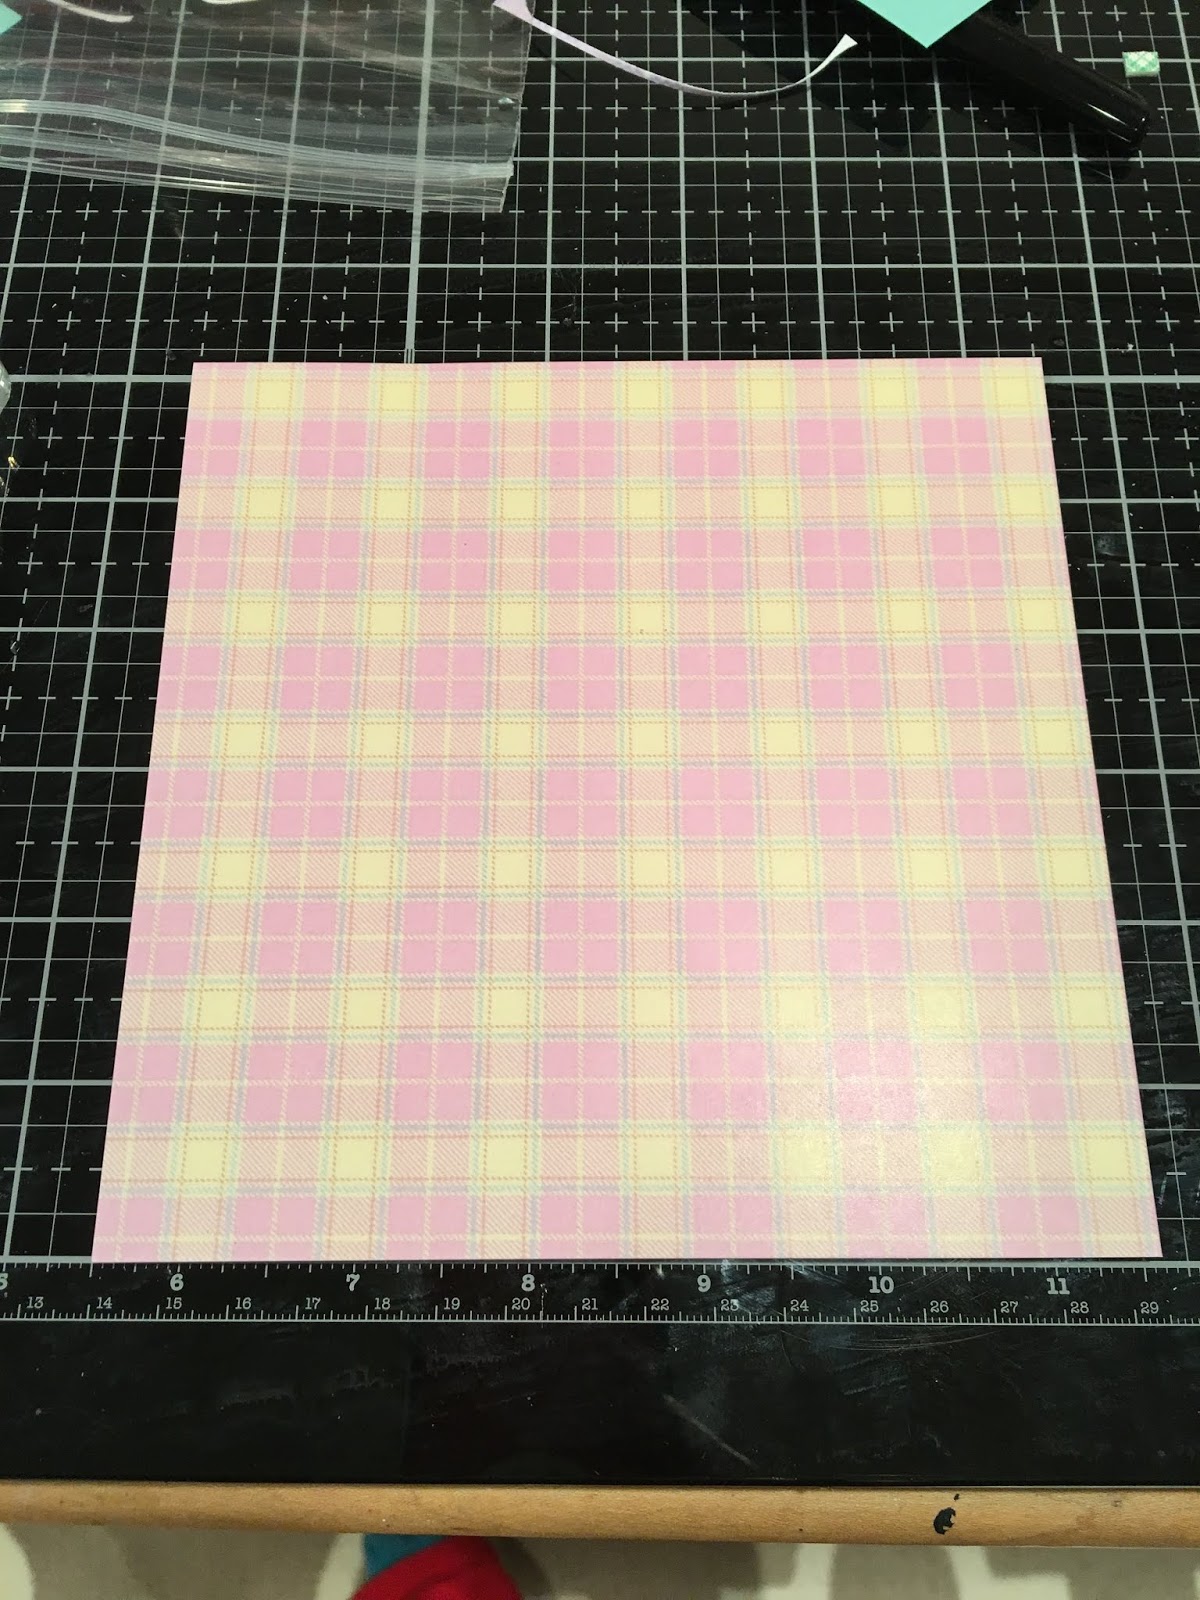
I have a FUN Easter Tutorial for you today! Let's make some Easter Baskets! All you need is ONE sheet of 6x6 Paper. It takes maybe 5 minutes to make these darling little treat baskets and you can decorate them in so many ways! I'm using C.C Designs NEW 6x6 Easter Paper Pad and Tiny Easter Stamp Set.
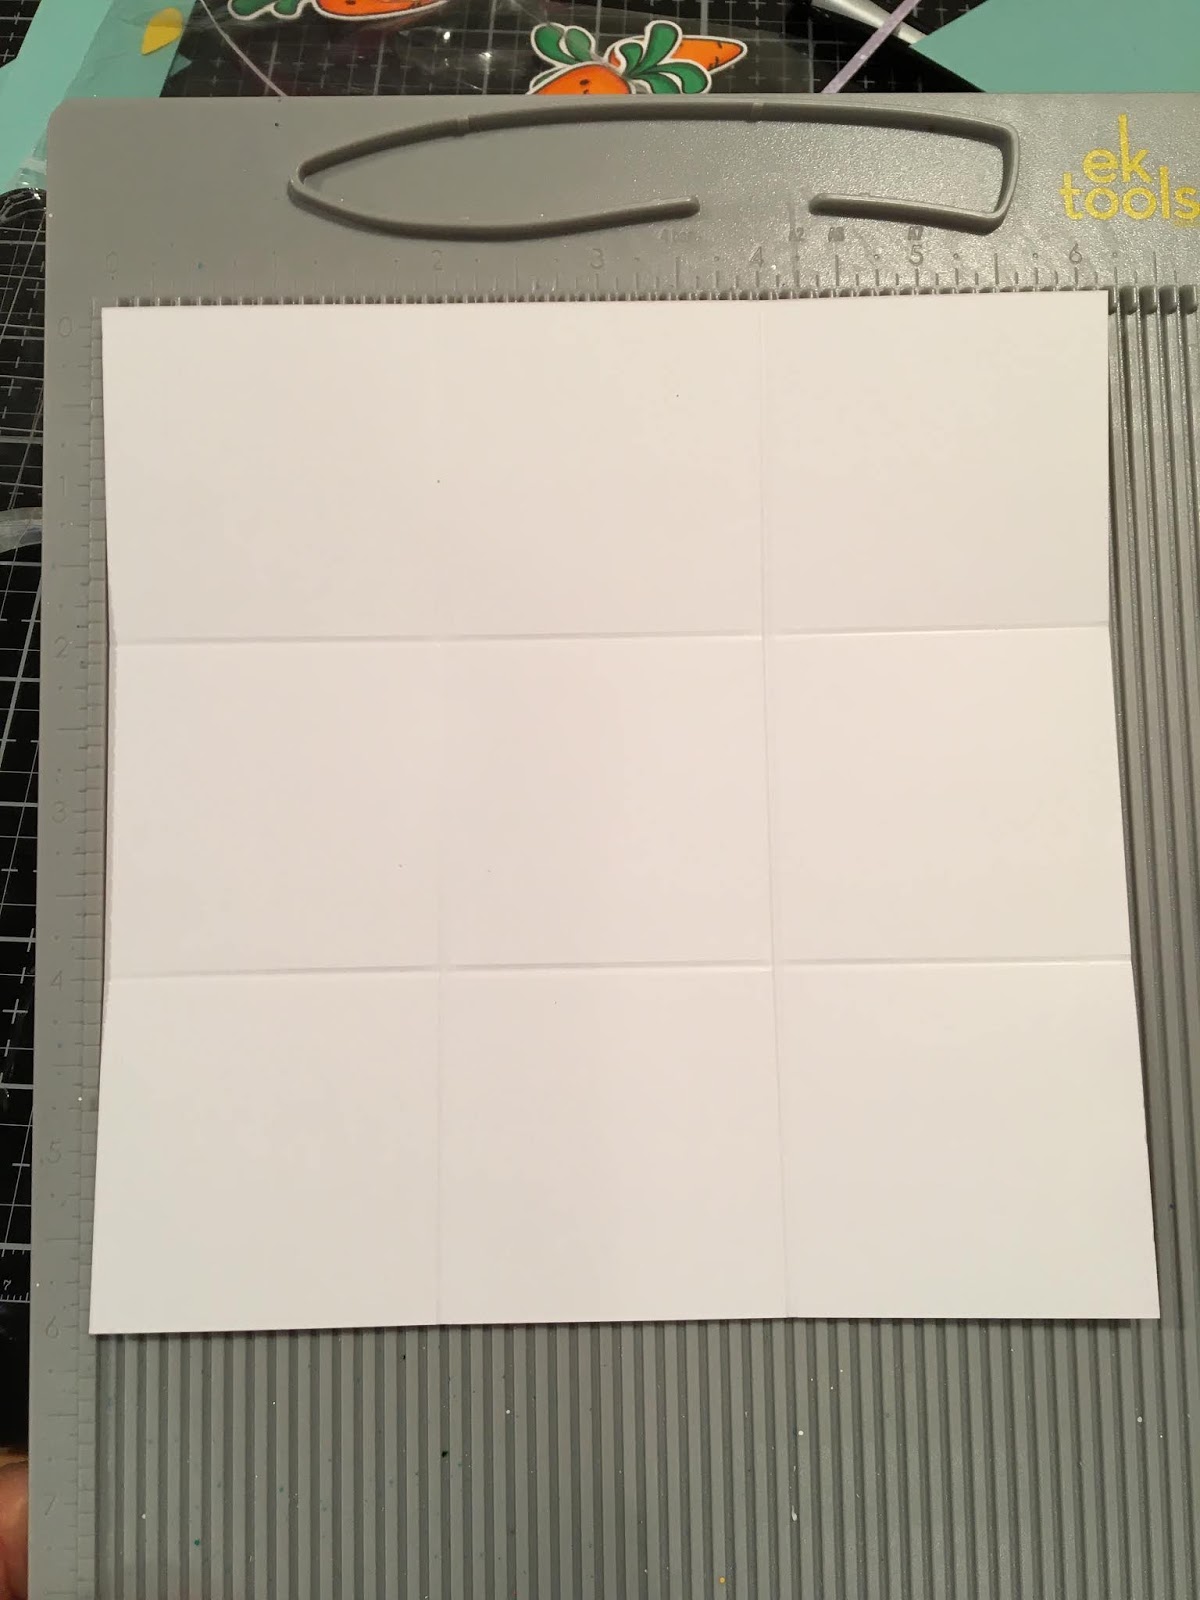
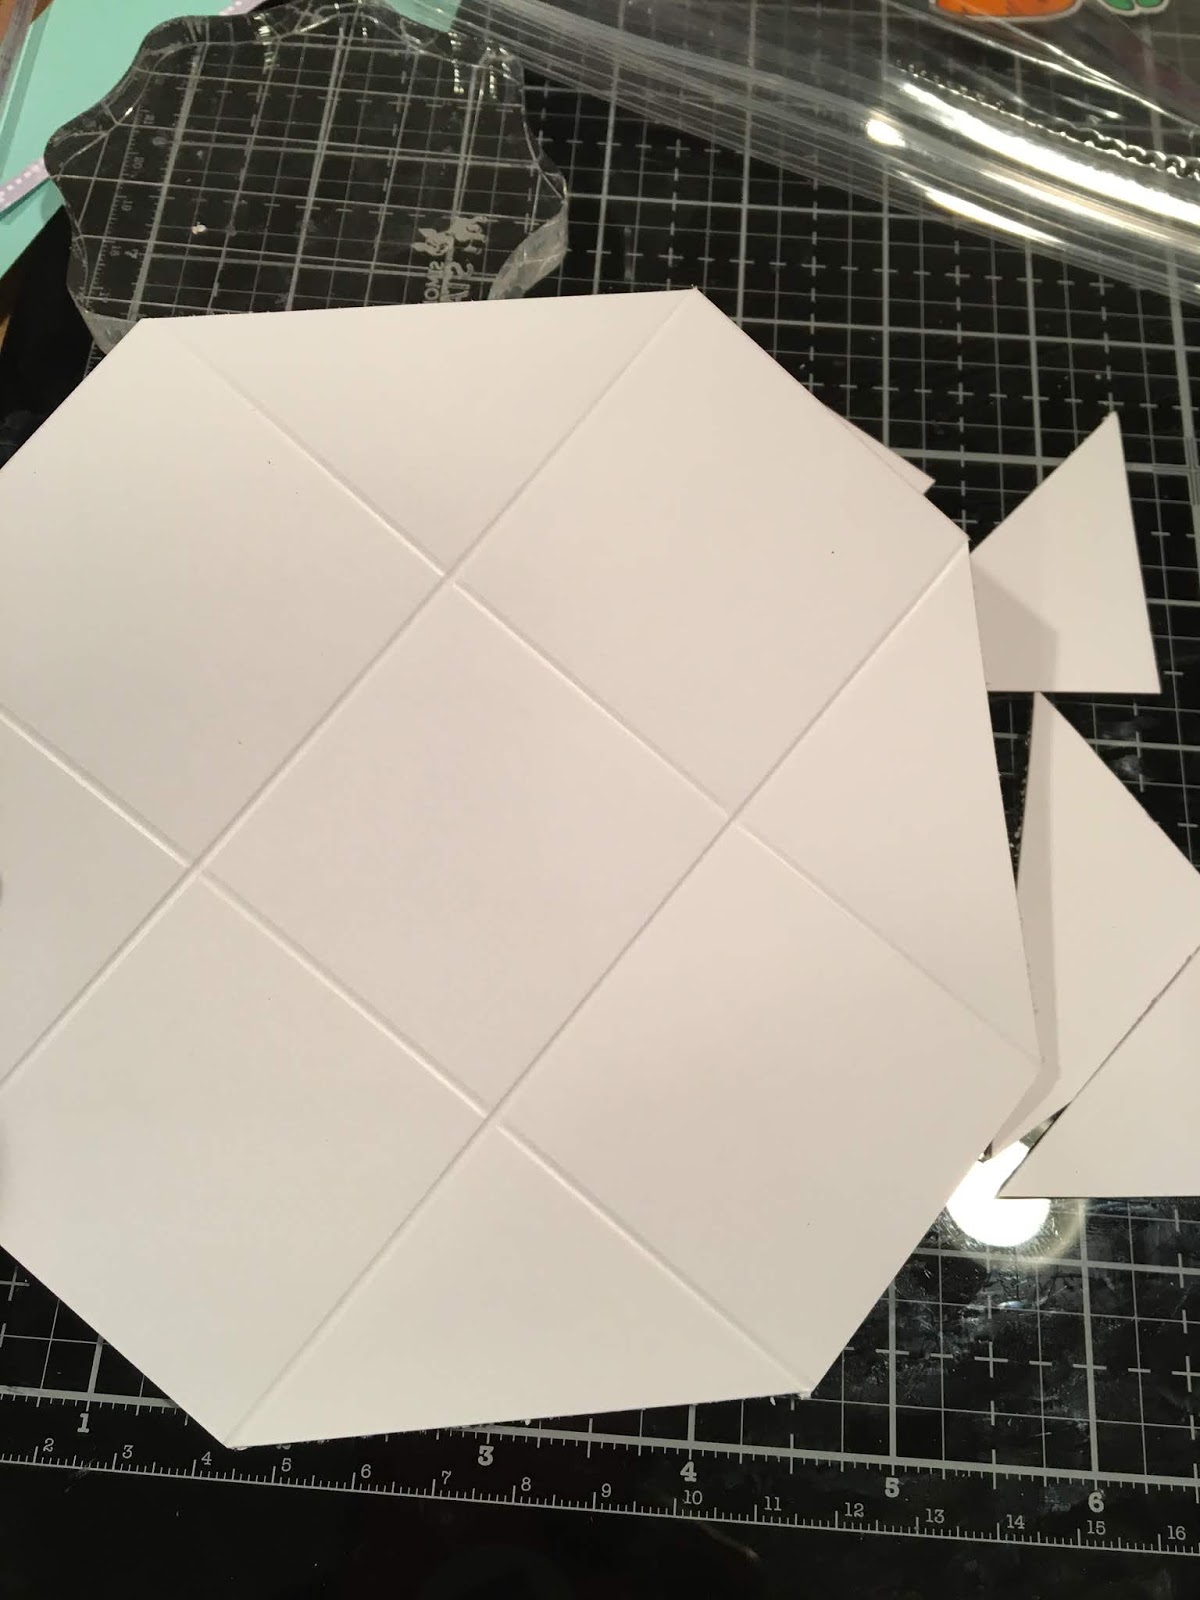
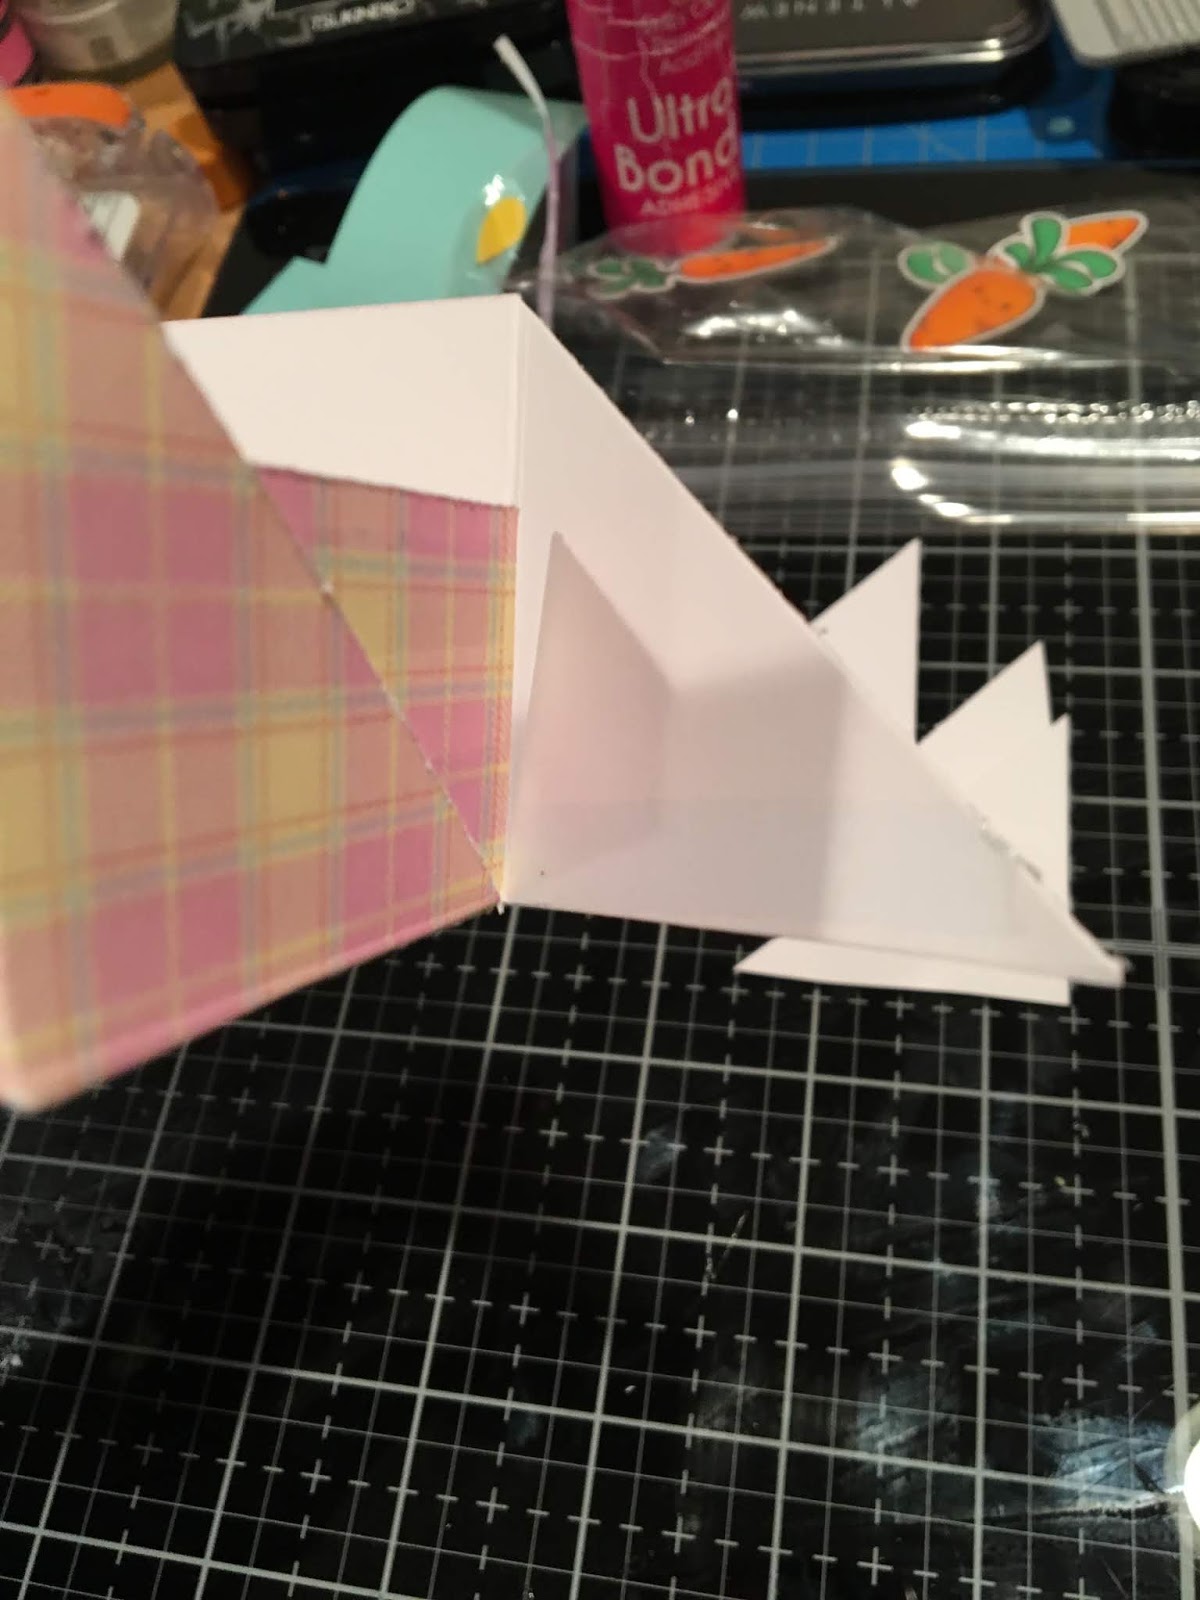
Step 1: Pick out your 6x6 paper and score the paper at 2" and 4", turn your cardstock, and repeat.
Step 2: Cut each of the corners off
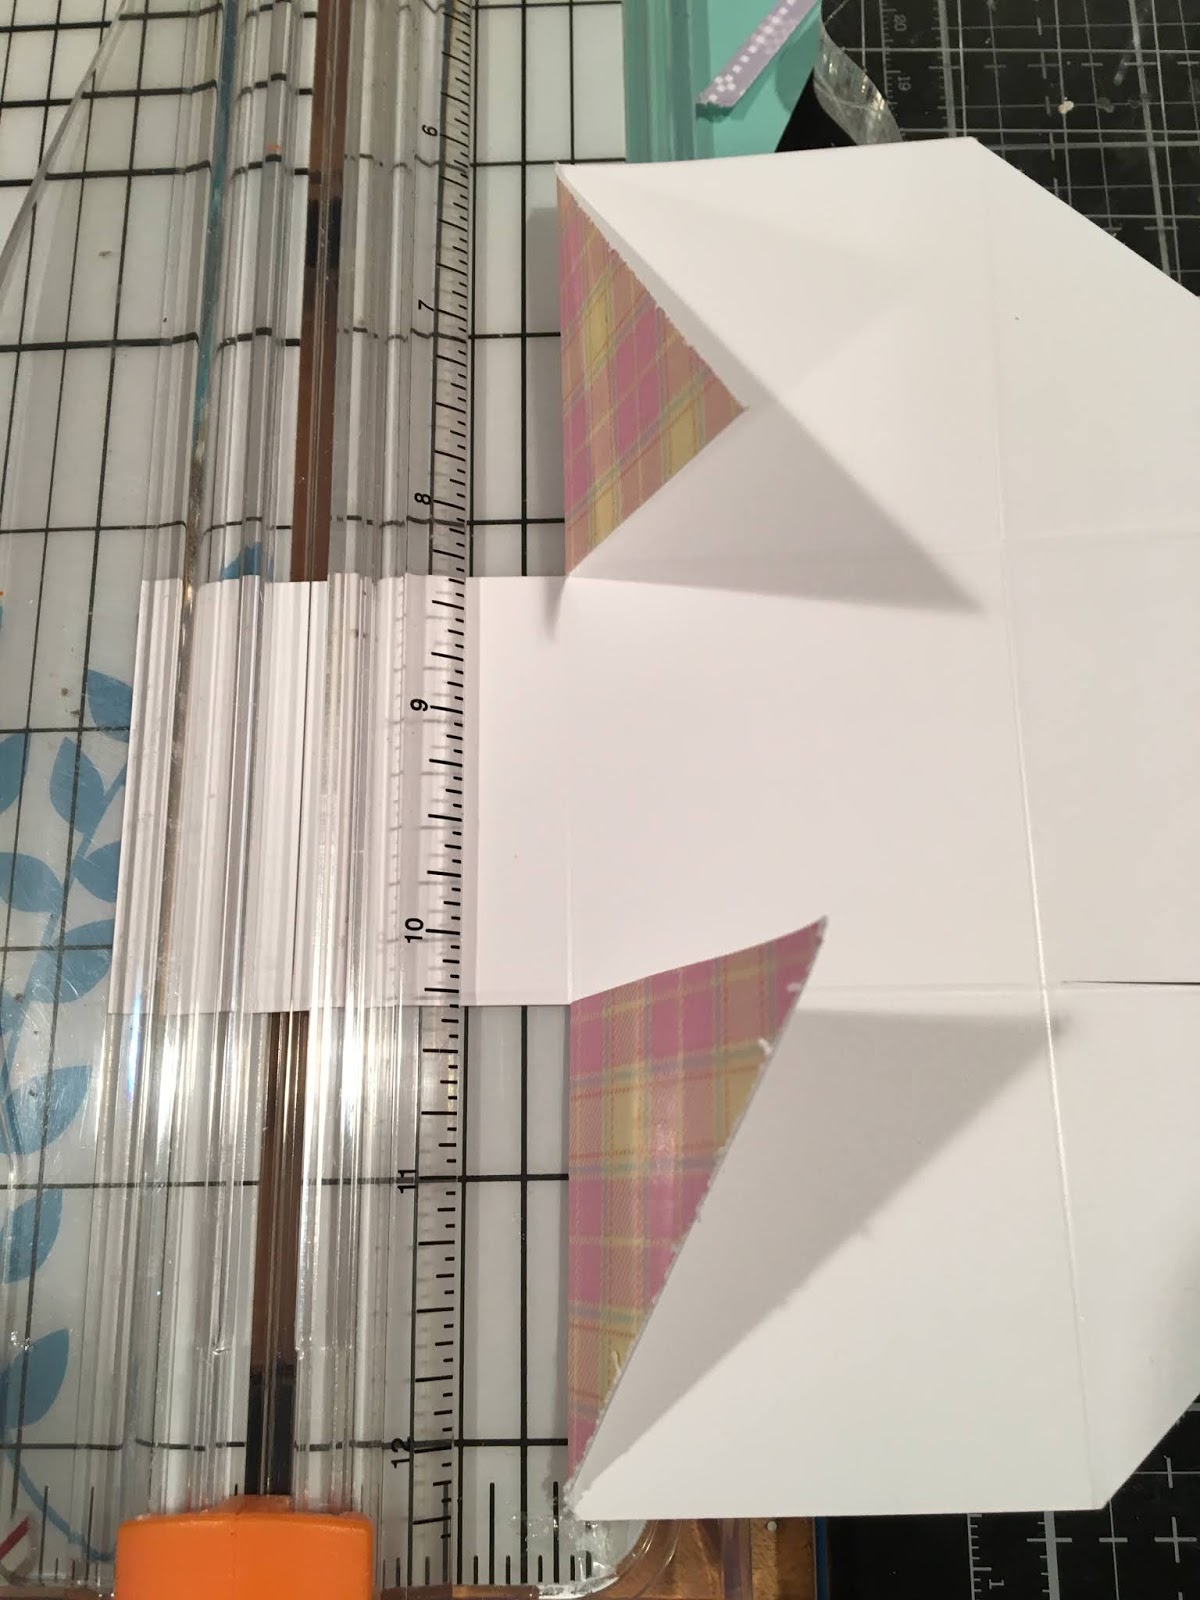
Step 3: Cut into the 2 inch score lines on both sides then cut the end flaps to 3/4 inch.
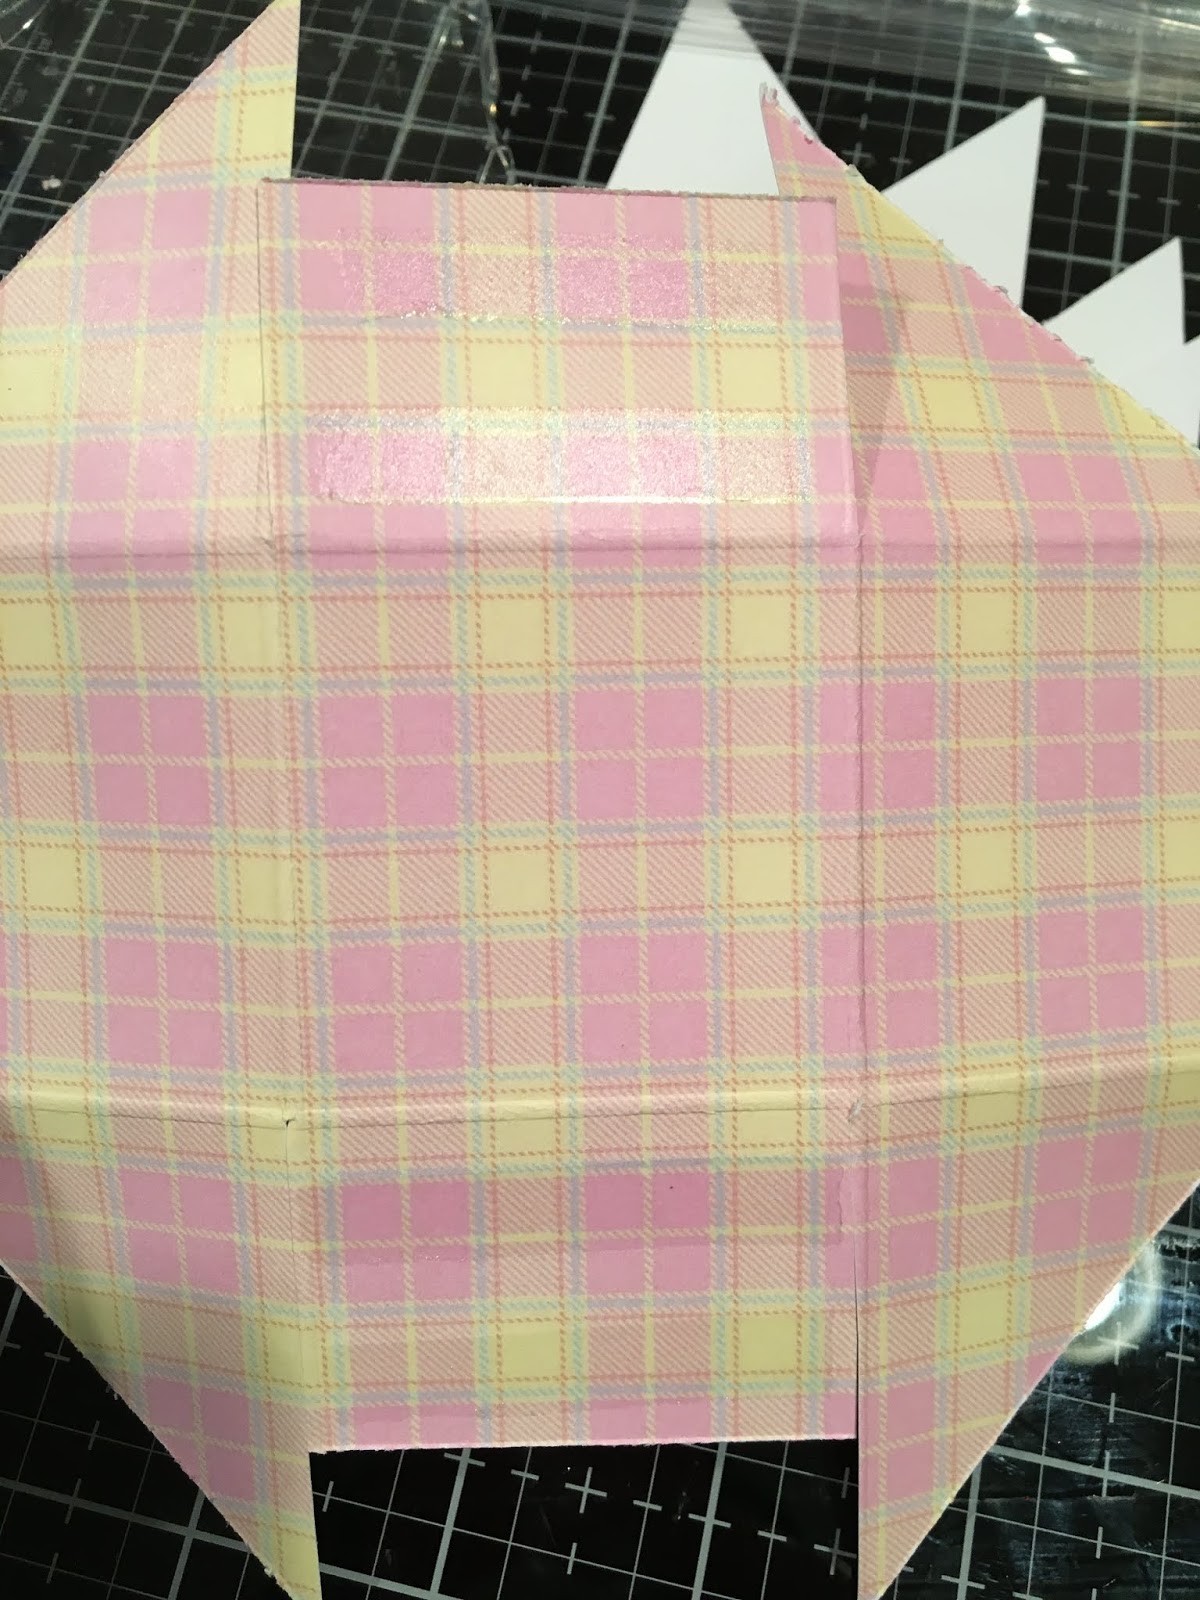
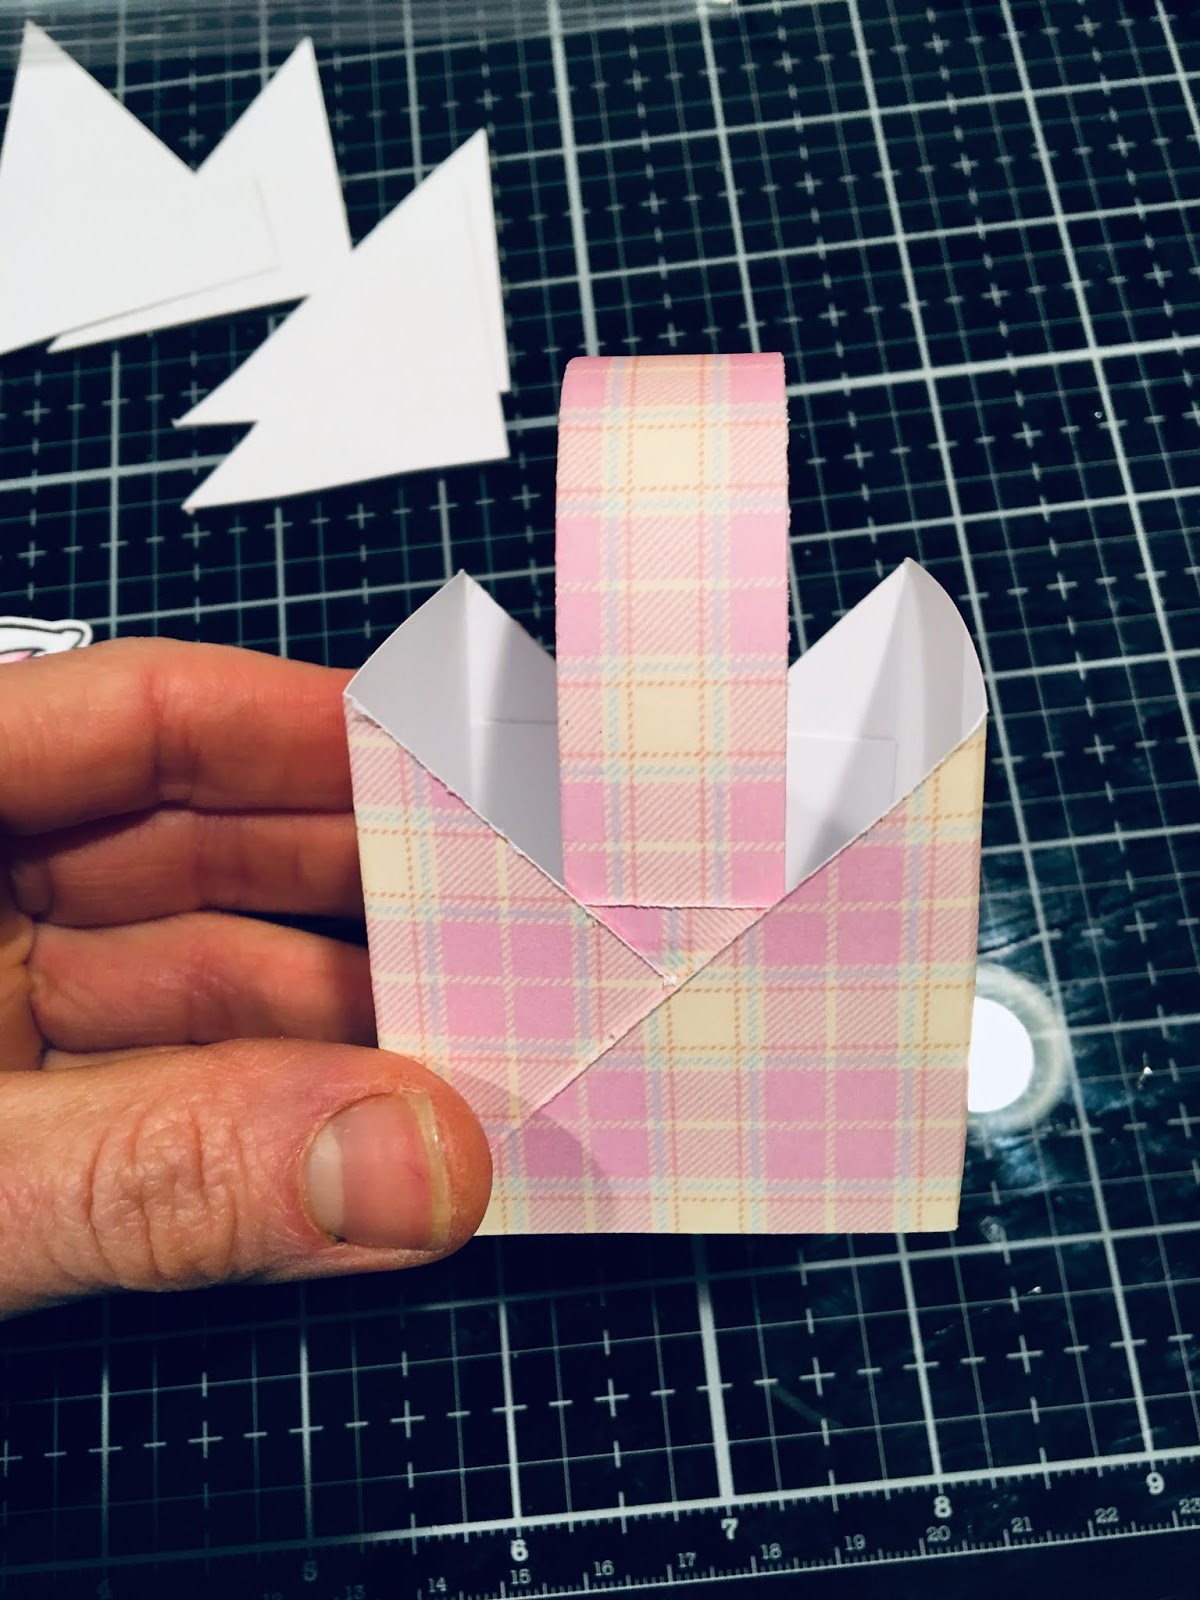
Step 4: Fold all the score lines and put adhesive on the 3/4inch flaps, then press the first half of the criss cross piece onto the flaps on both sides.
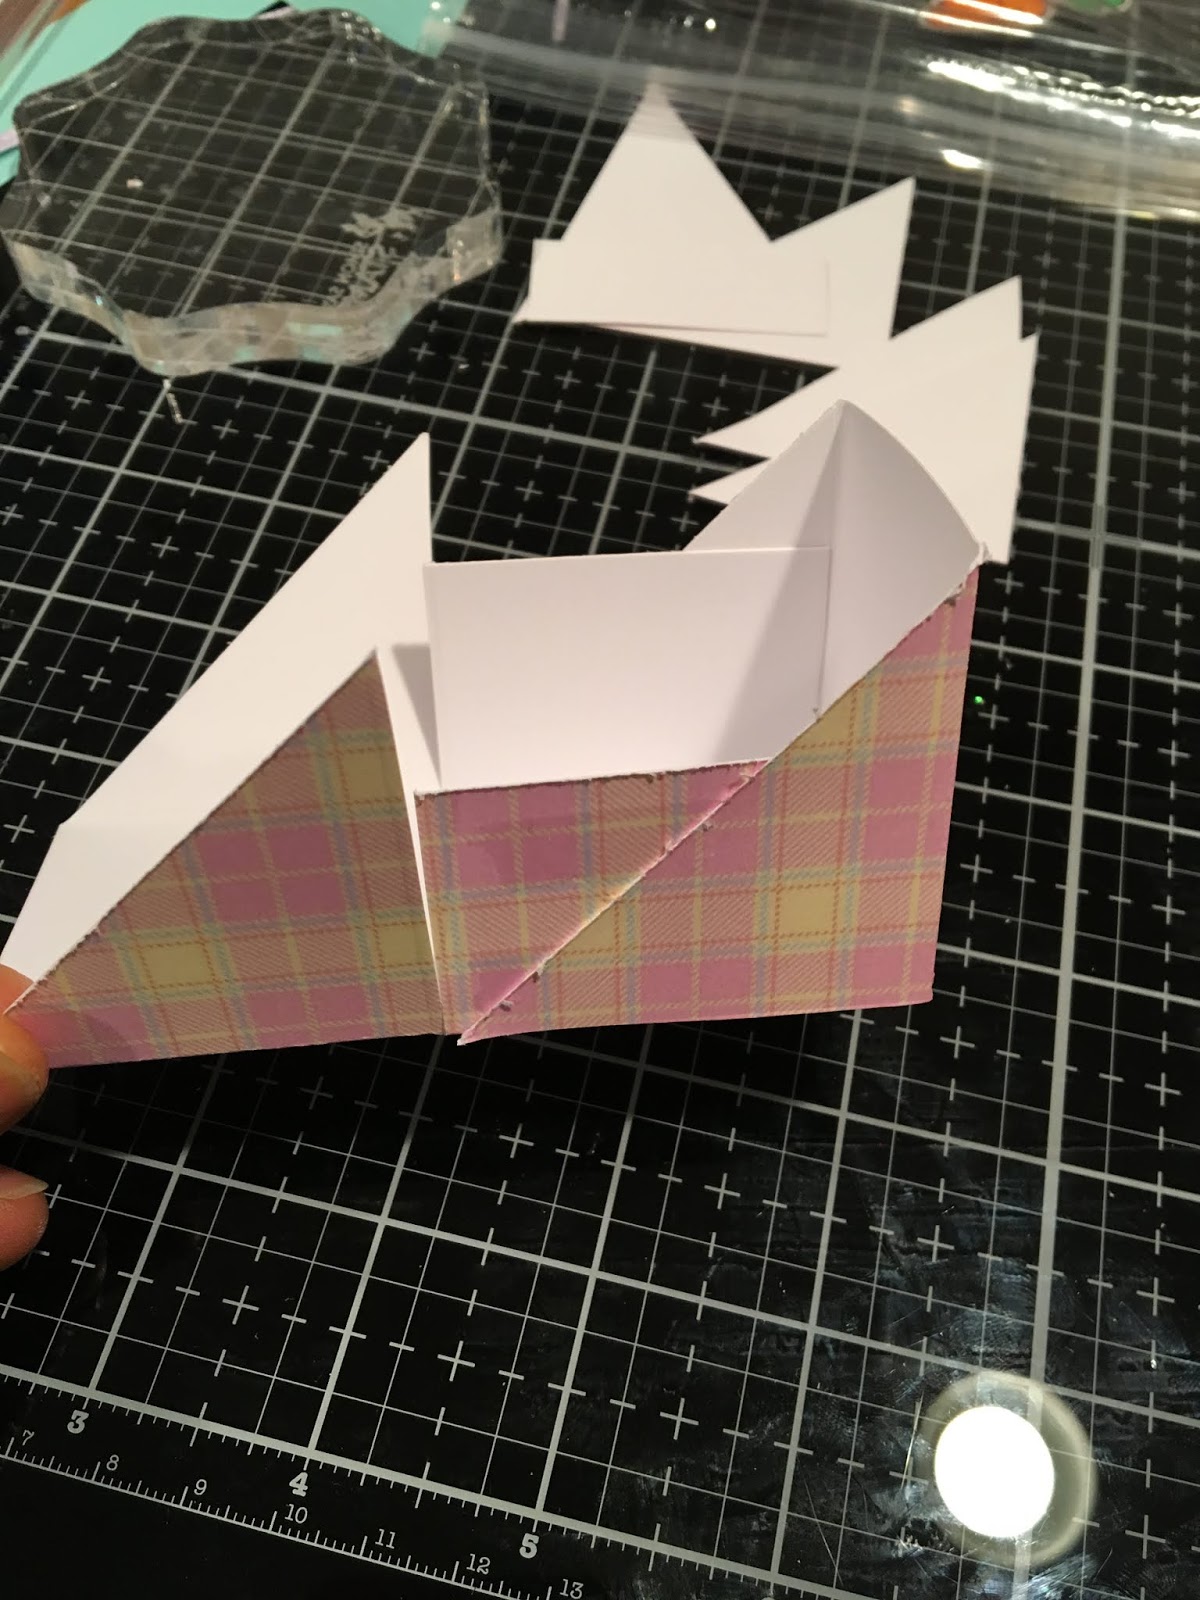
Step 5: Add adhesive to the inside of the other criss cross flaps and adhere them on top of the first ones to create the basket.
Step 6: Cut a 1 inch strip from your paper for your basket handle and adhere.
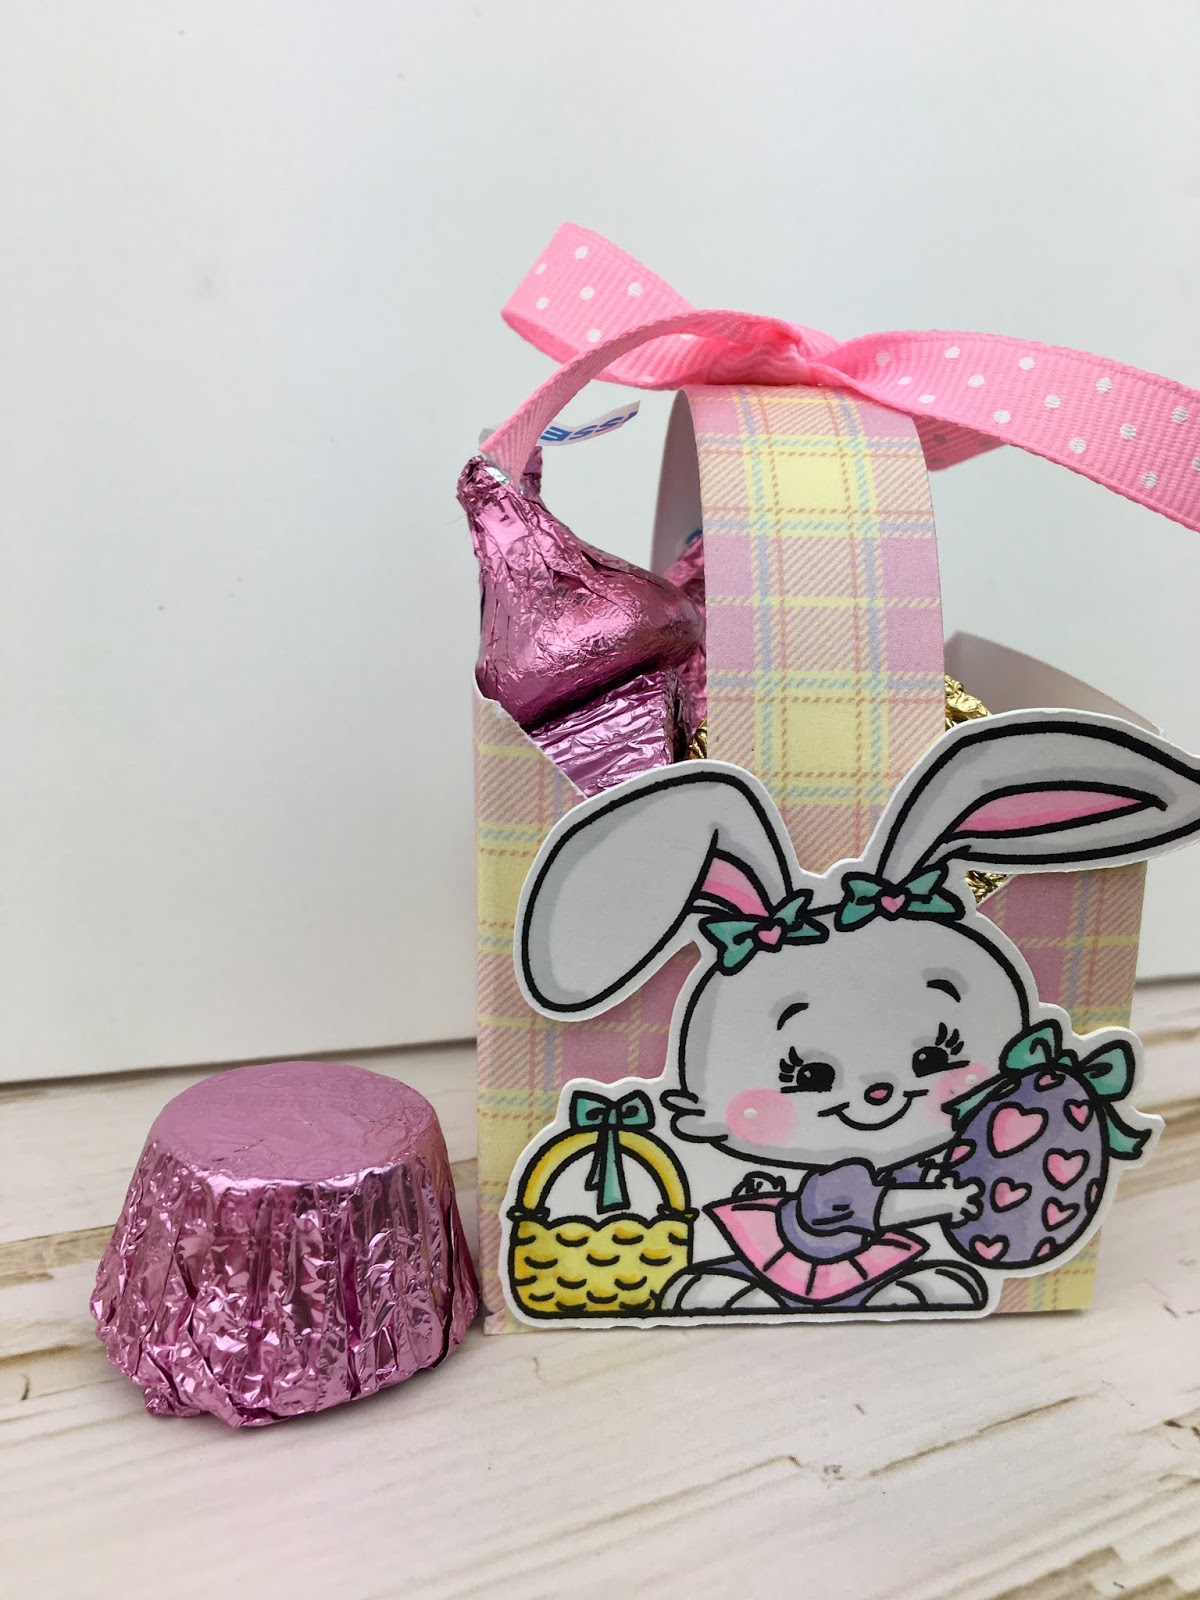
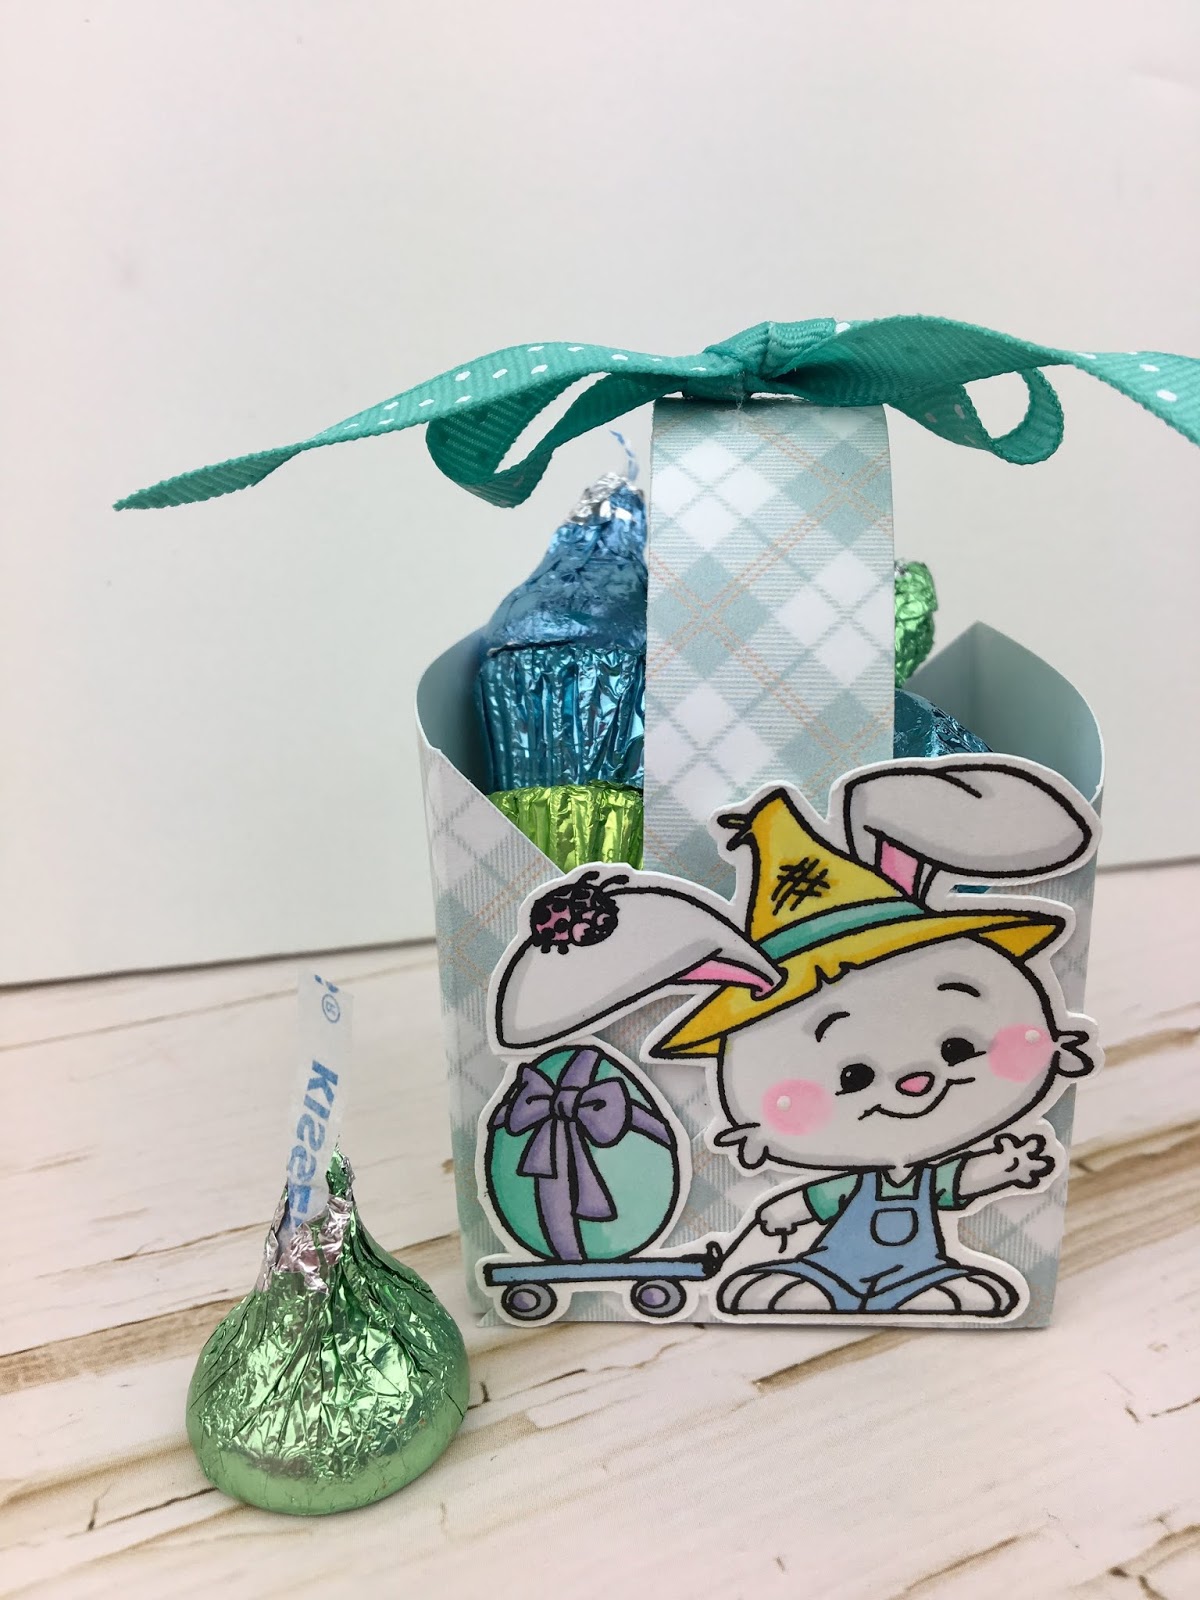
I made two baskets, one for my niece Annie (girl bunny, pink paper) and one for my nephew, Thomas (boy bunny, blue paper)


I added bows to the top of each basket with adhesive and filled them with Easter Hershey Kisses and Easter Reeses Peanut Butter Cups.

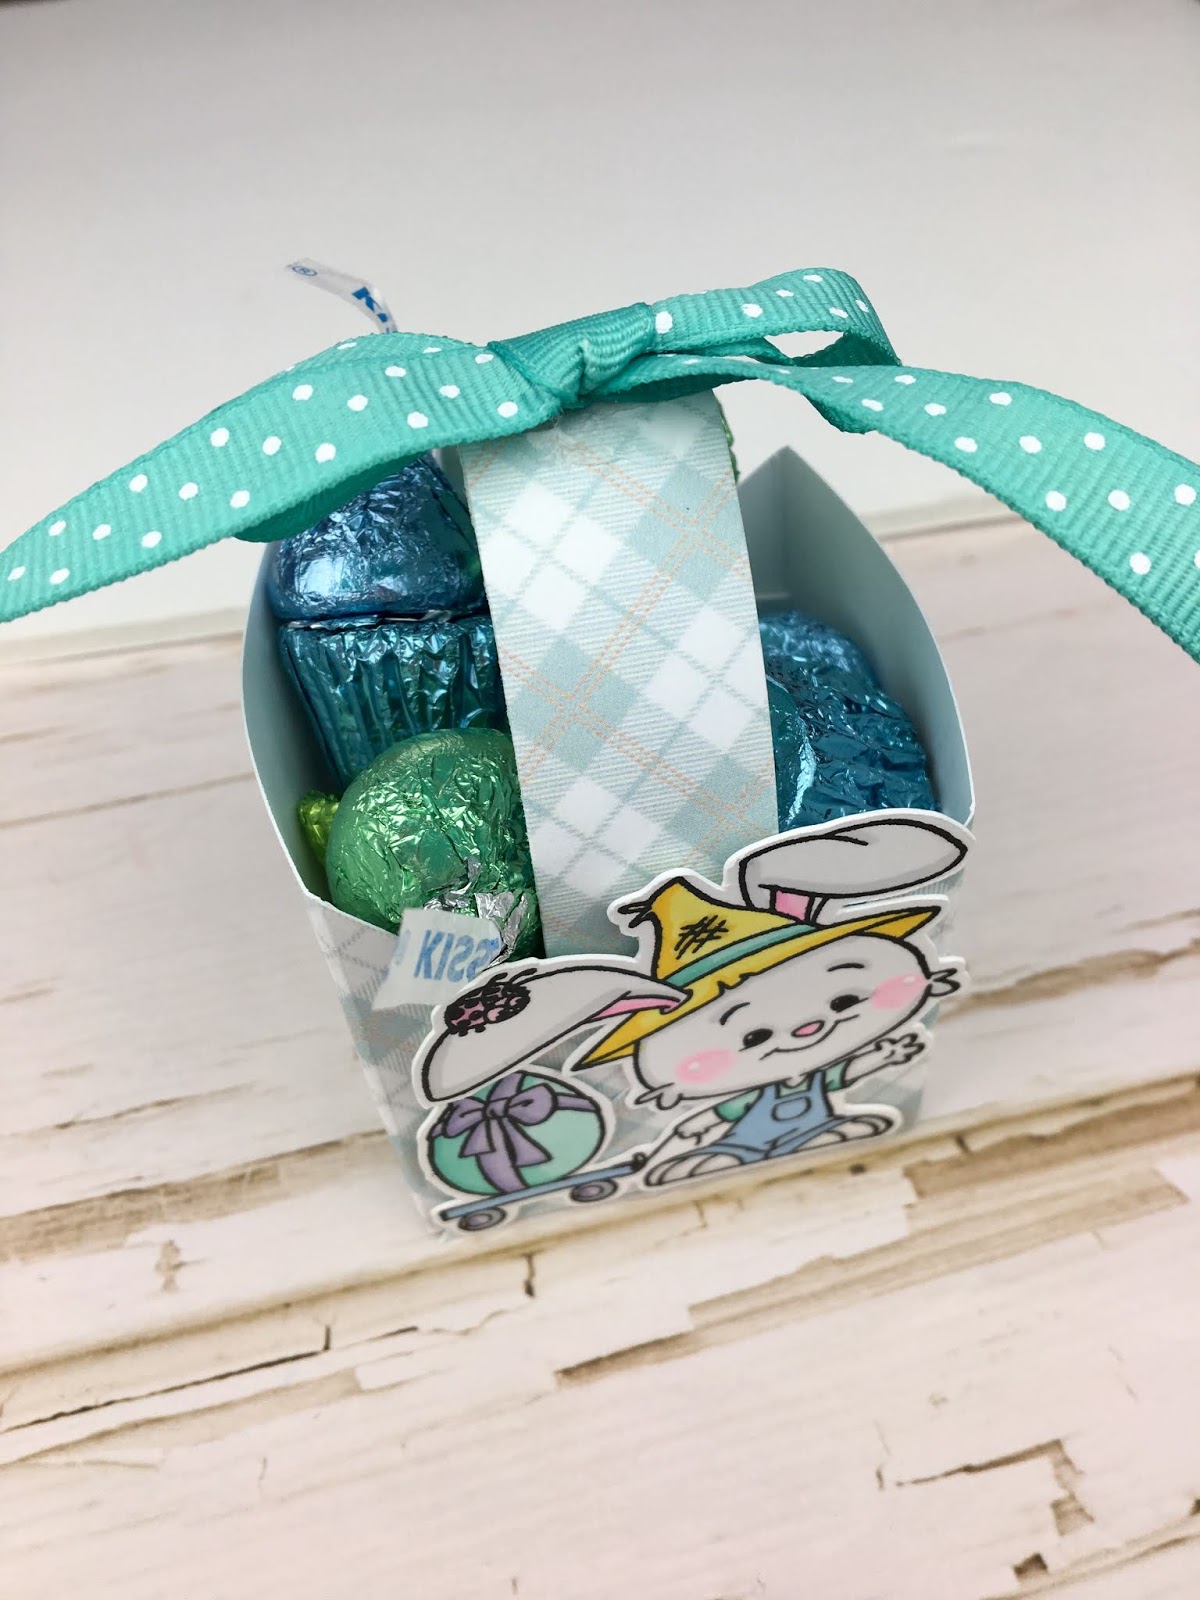
I personalize each basket with a little bunny diecut and their initials in matching papers.
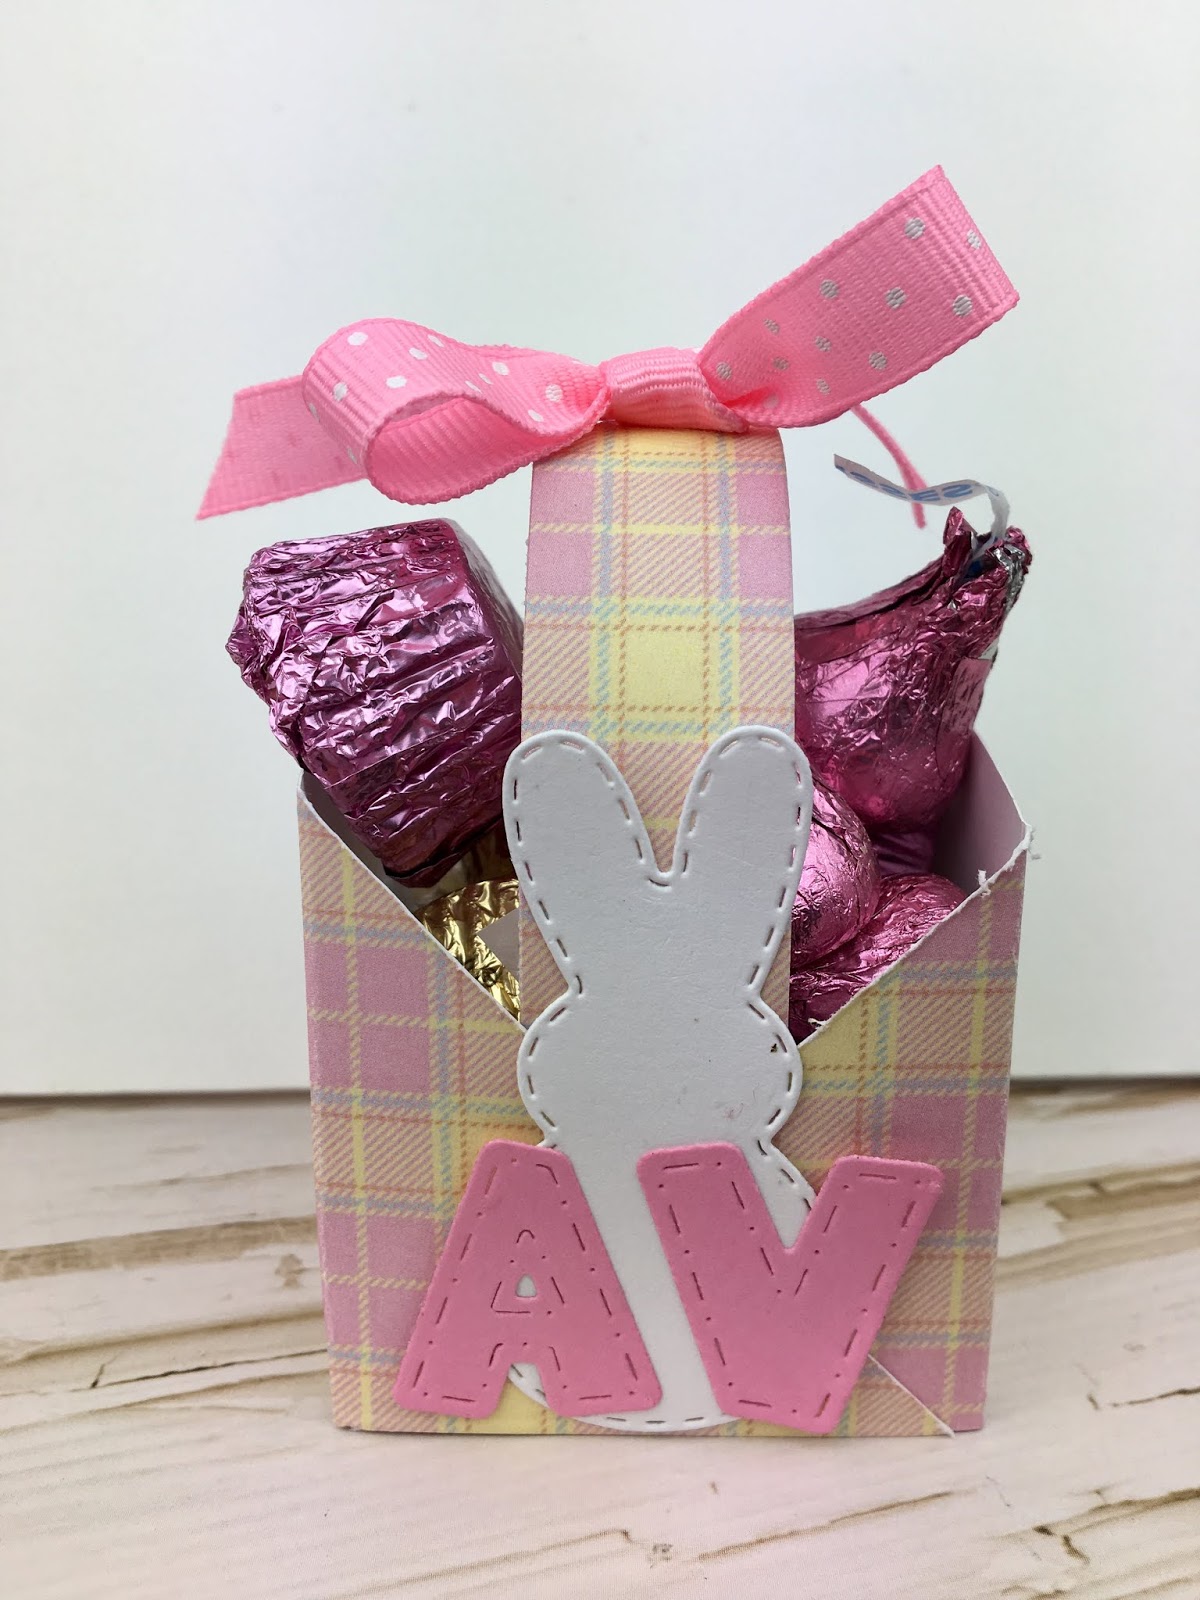
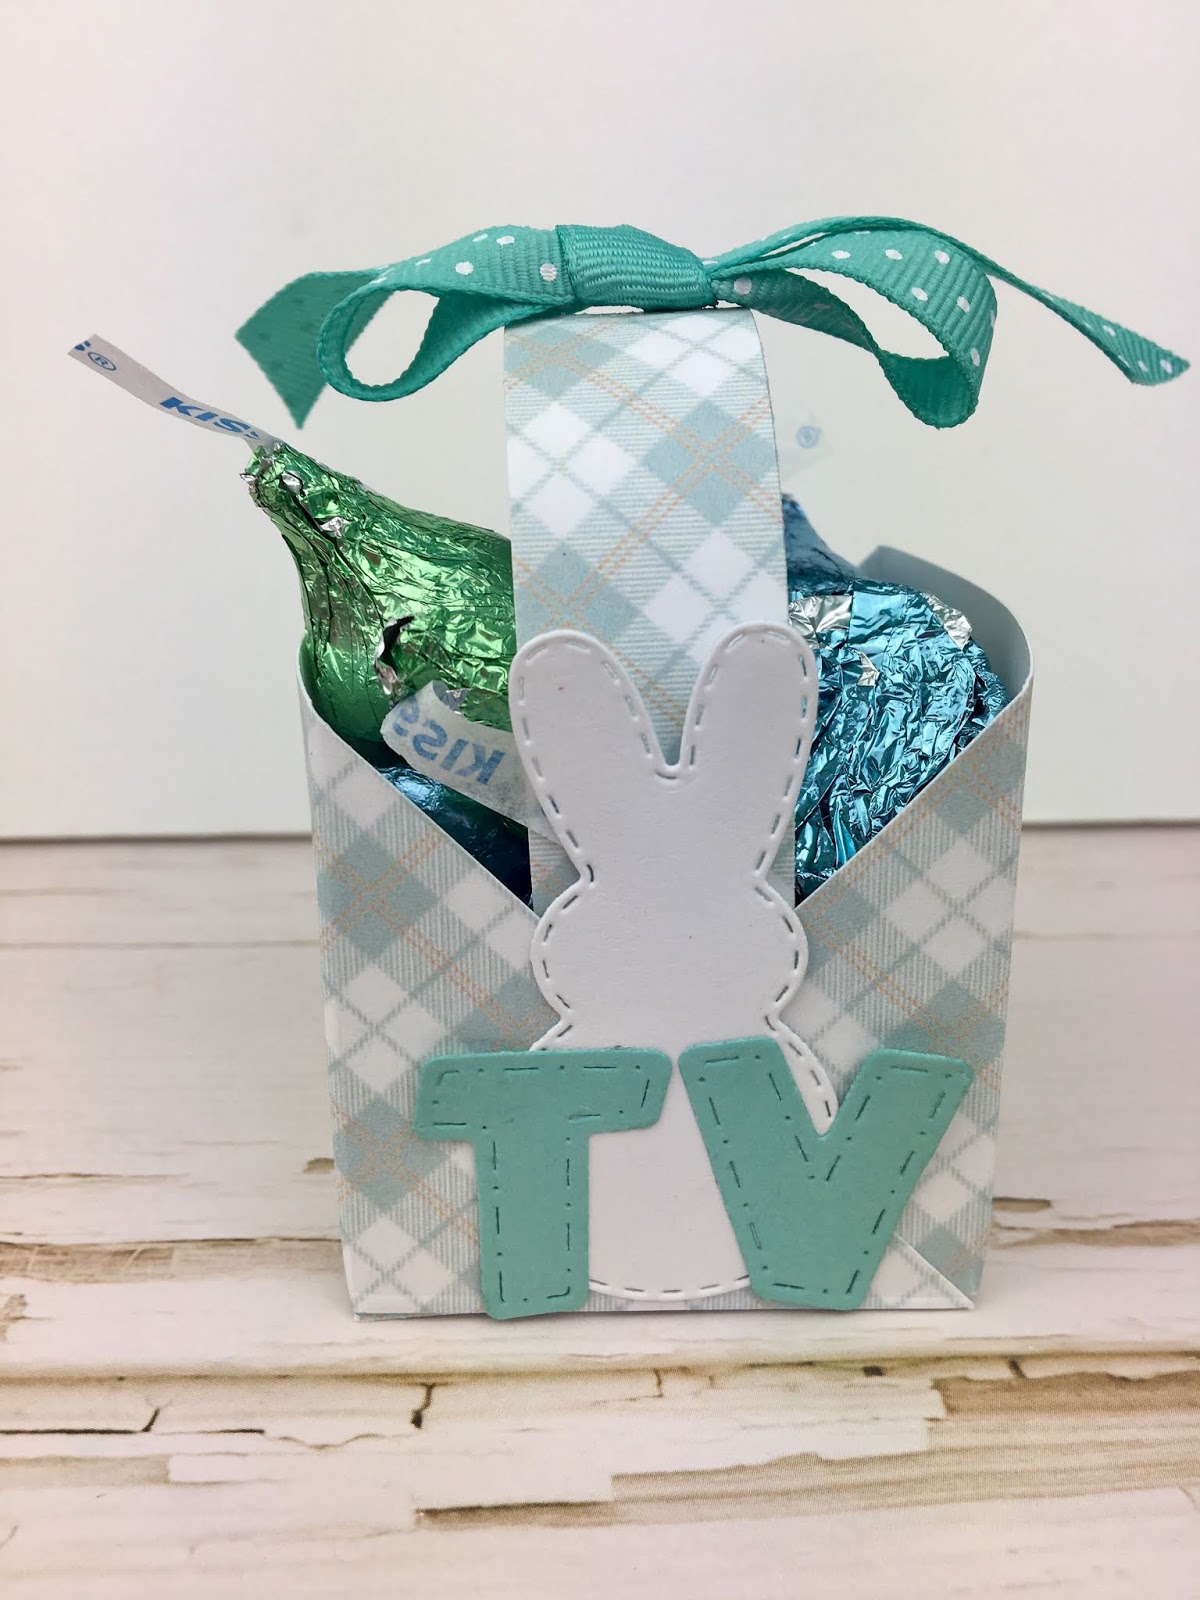
One more look at the final product! I hope you give it a try! I want to give credit to the Paper Smiles Blog where I got the idea to make the baskets.
Supplies:
C.C Designs Easter Paper Pad
C.C Designs Tiny Easter Stamp Set
Kat Scrappiness Stitched Outline Bunny Die
Craftin' Desert Divas Stitched Alphabet Die
TAGS: