How to create a stamped scene
Posted by DESIGN TEAM

How to layer stamps to create a scene
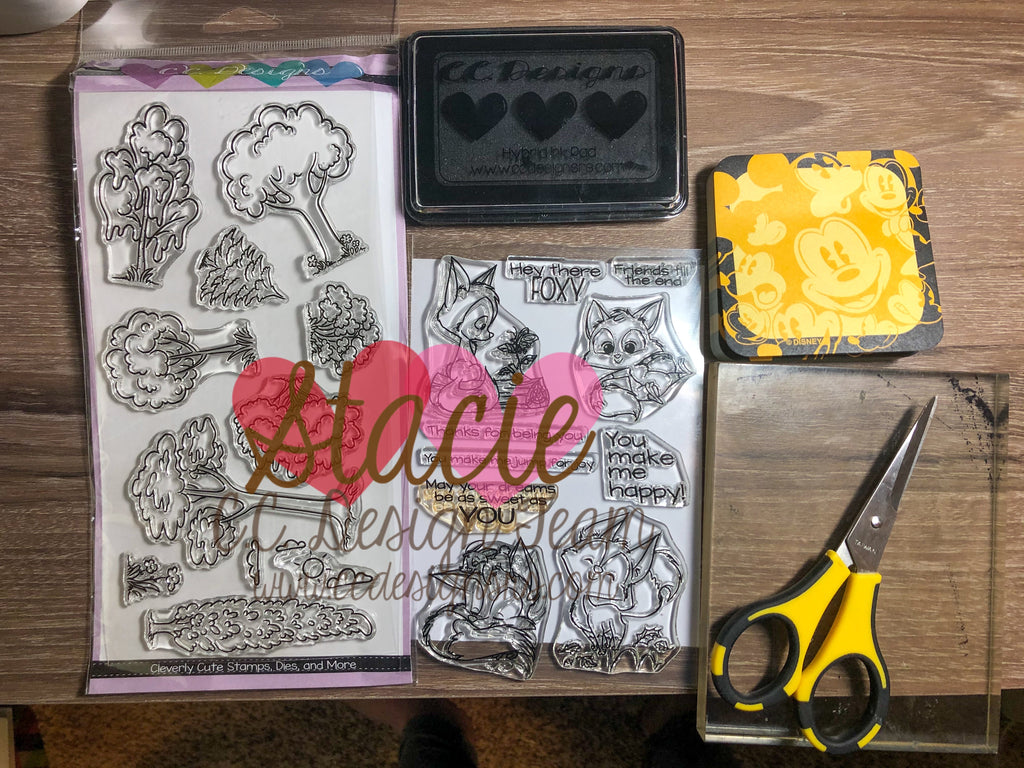
First gather your supplies, I used:
Foxes Clear Stamps
Create a Scene Clear Stamps
Black Olive Hybrid Ink
Post It Notes
Sharp scissors
Clear stamp block
First gather your supplies, I used:
Foxes Clear Stamps
Create a Scene Clear Stamps
Black Olive Hybrid Ink
Post It Notes
Sharp scissors
Clear stamp block

Next stamp the image you want in front on your paper you will be coloring on and also onto the post it note. Be sure you have you image high enough on the post it note That you have some sticky left after cutting. I have also used post it note tape if my image is small enough!


Next fussy cut your image on the post it note. You don’t have to cut the whole thing out if your background stamps won’t reach the bottom. Also be sure to cut close to the black line so you don’t leave a white space around it!

Next line up your post it note image with the other stamped image.

Next grab your background stamps and stamp the over the image with the post it not to keep your image in the foreground.

Next grab your background stamps and stamp the over the image with the post it not to keep your image in the foreground.


Next remove the post it note & now you have your scene ready to color!

Thanks for stopping by!
Stacie
TAGS:


