C.C. Blog — DT Larisa
To The Shops Swissie
Posted by DESIGN TEAM
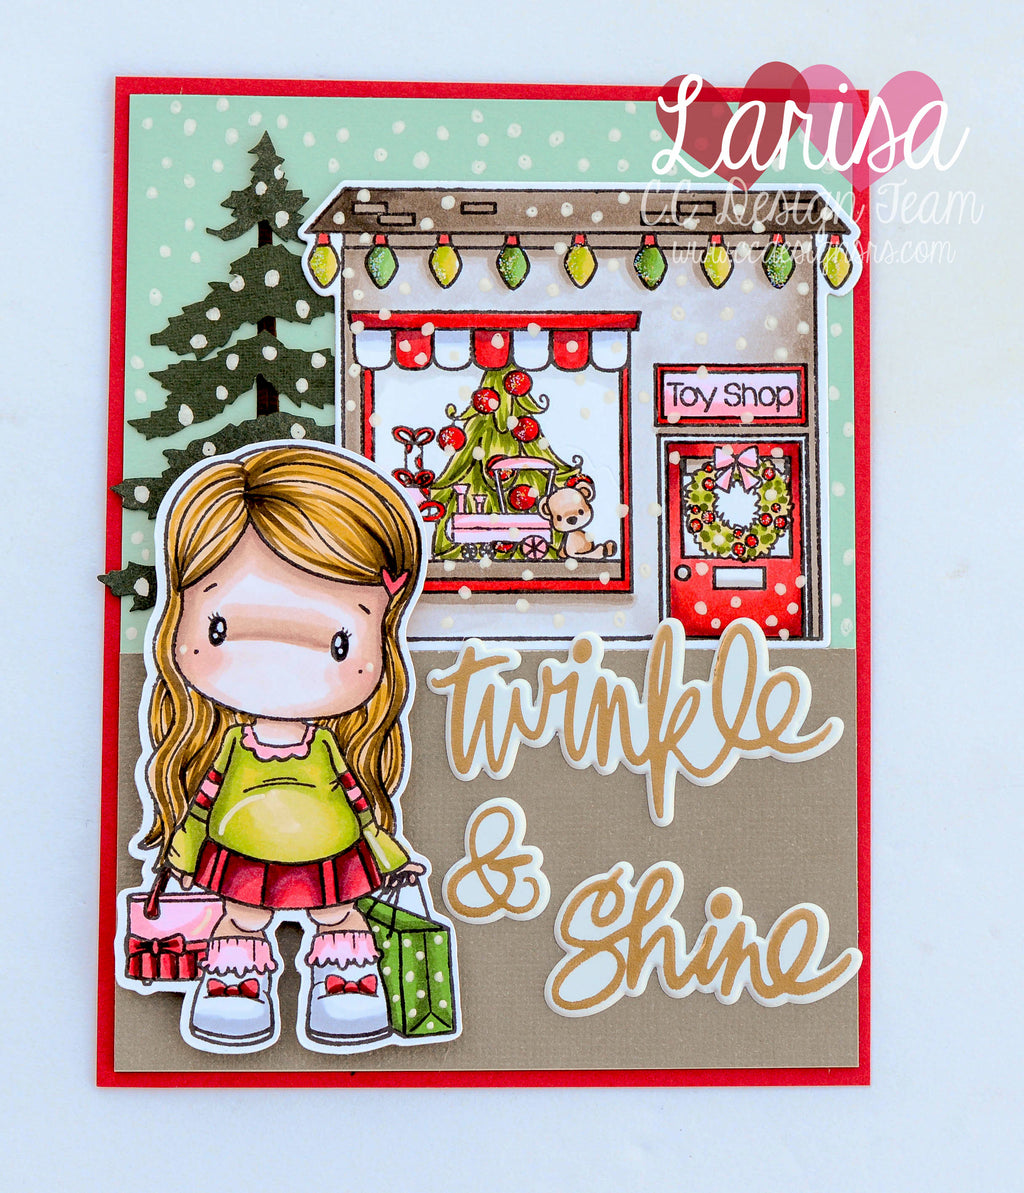
Hello, Larisa here and today I have a fun little Christmas Shopping Card to share. Have you finished your Christmas shopping yet? For this card, I combined two different sets. To the Shops Swissie and Gingerbread Lane. I just stamped them out, colored them up and die cut them. Then I layered them up on my card, added a fun little puffy sticker title and some snow with my white gel pen. Such a sweet little holiday card! Thanks so much for stopping by! Happy Crafting!
Oh What Fun
Posted by DESIGN TEAM
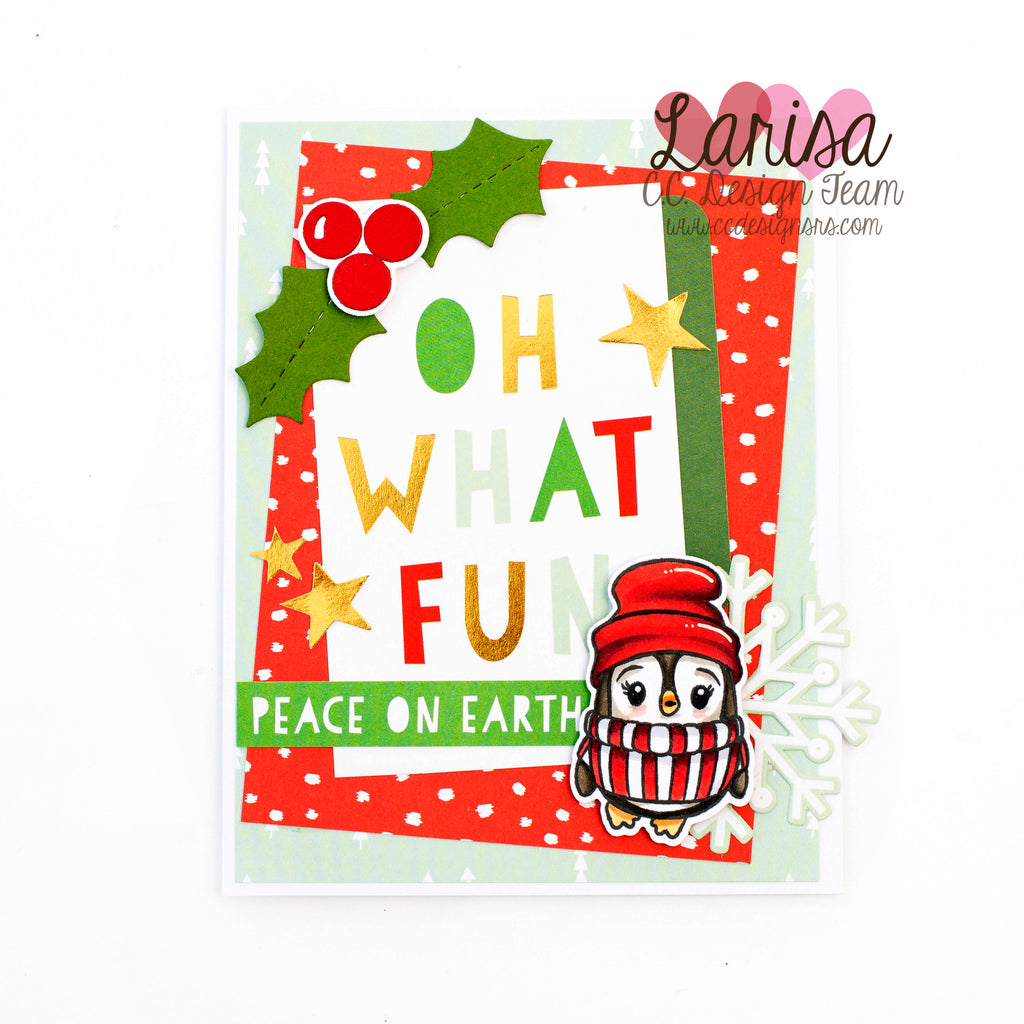
Hello! Larisa here and today I'm sharing a fun Christmas card featuring the new Cute Penguins Clear Stamp Set. To create my card, I layered up some patterned papers. Then I stamped out my little penguin image, colored him up with Copics, and fussy cut him out. Using foam tape, I popped him up on a snowflake at added him to the bottom right of my card. Some die cut holly and a few gold stars finish this card off.
Snowmen Inchies
Posted by DESIGN TEAM
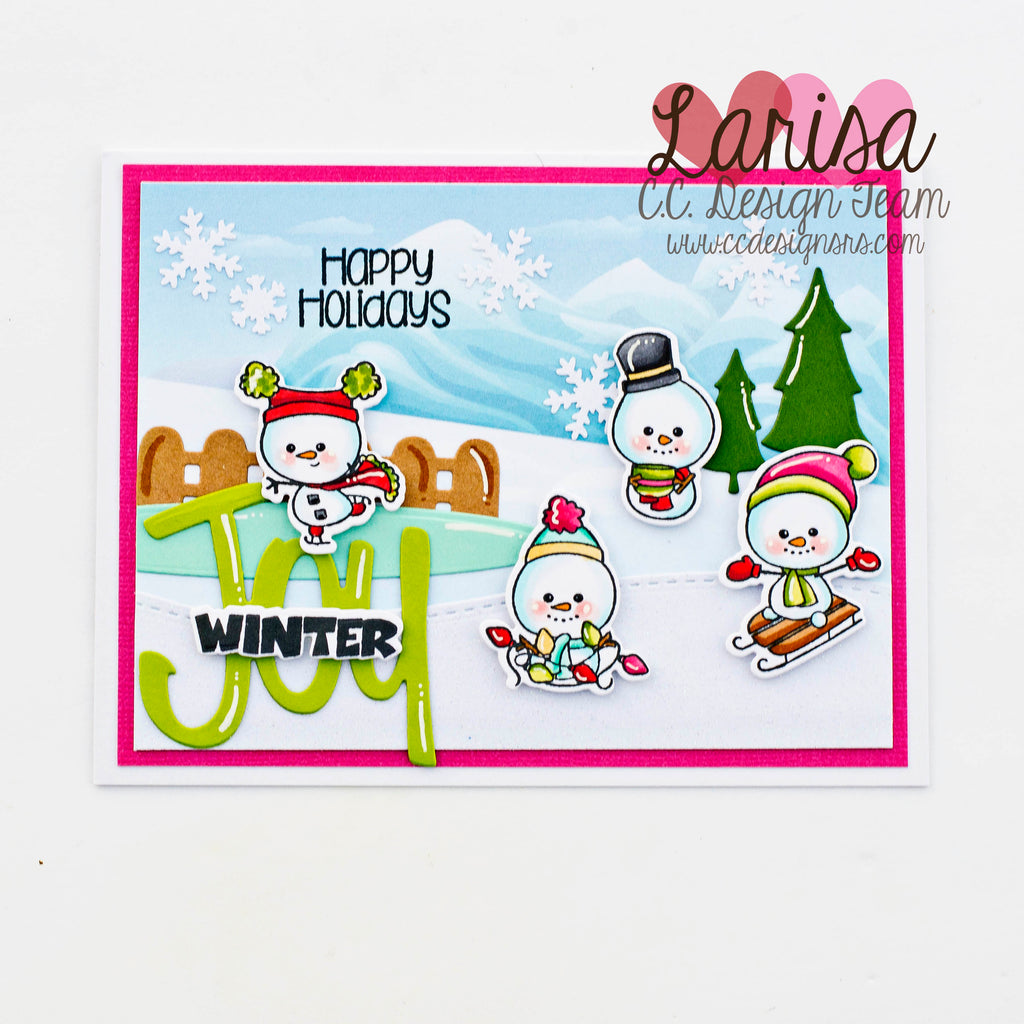
Hello,Larisa here and today I'm sharing a very fun card featuring the NEW Snowmen Inchies Clear Stamp Set and Coordinating Dies! To create my card, I started with some fun patterned paper that featured a mountain scene. Using some dies in my stash, I created a little winter scene complete with skating pond and trees. I stamped out my images, colored them up with Copics, and cut them out using the coordinating outline dies. Using foam tape, I popped them onto my scene. For my sentiment, I die cut the word Joy and layered the Winter Sentiment on top. Such a whimsical...
Magical Birthday Wishes
Posted by DESIGN TEAM
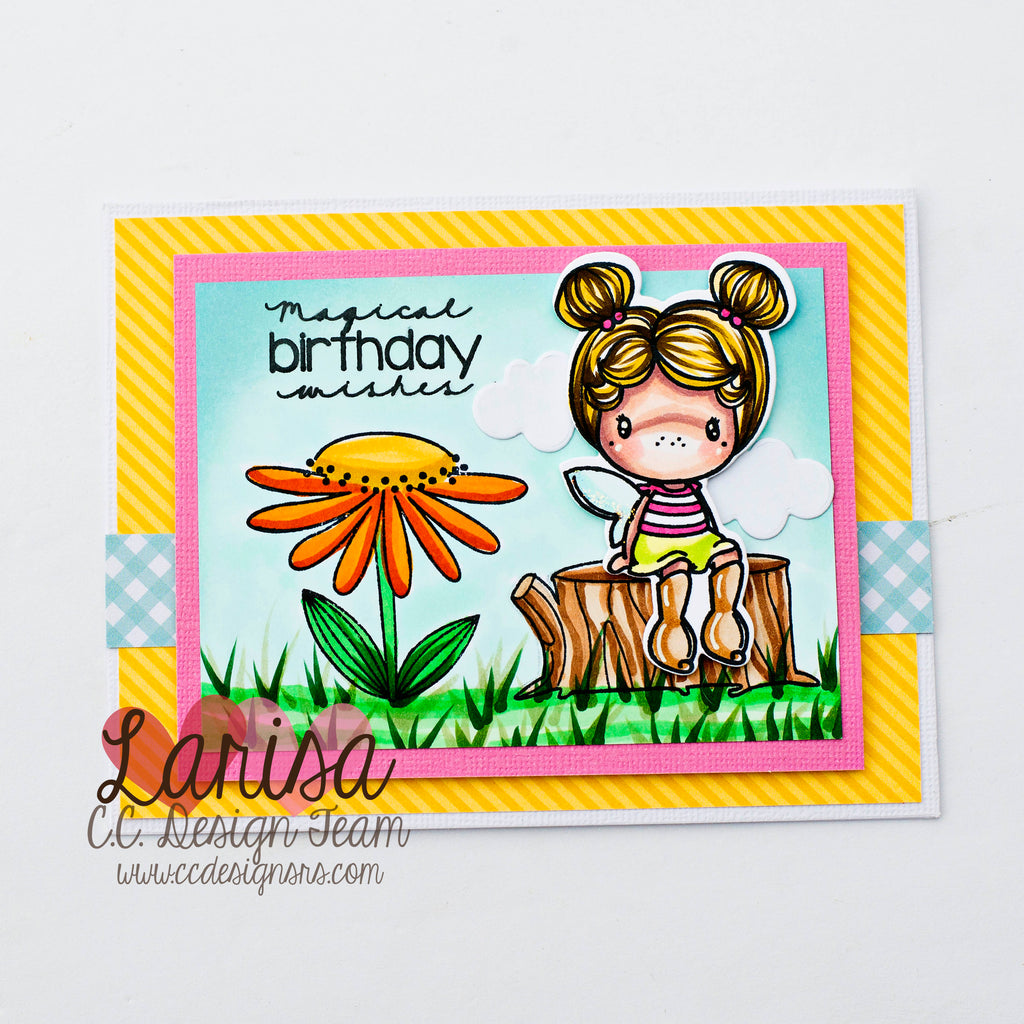
Hello! Larisa here and today I'm sharing a sweet little card using the NEW Swiss Fairies and Fairy Scene stamps! These new stamp sets coordinate so well together; the possibilities are endless. For my card, I started with a piece of white card stock. I stamped my background images using The Fairy Scene Stamp Set. Using Copics, I colored it up and die cut it into a small rectangle. Then I stamped out my fairy image, colored her with Copics, and cut her out using the coordinating dies. Using foam tape, I added her on top of the stump...
Gnome Friends
Posted by DESIGN TEAM
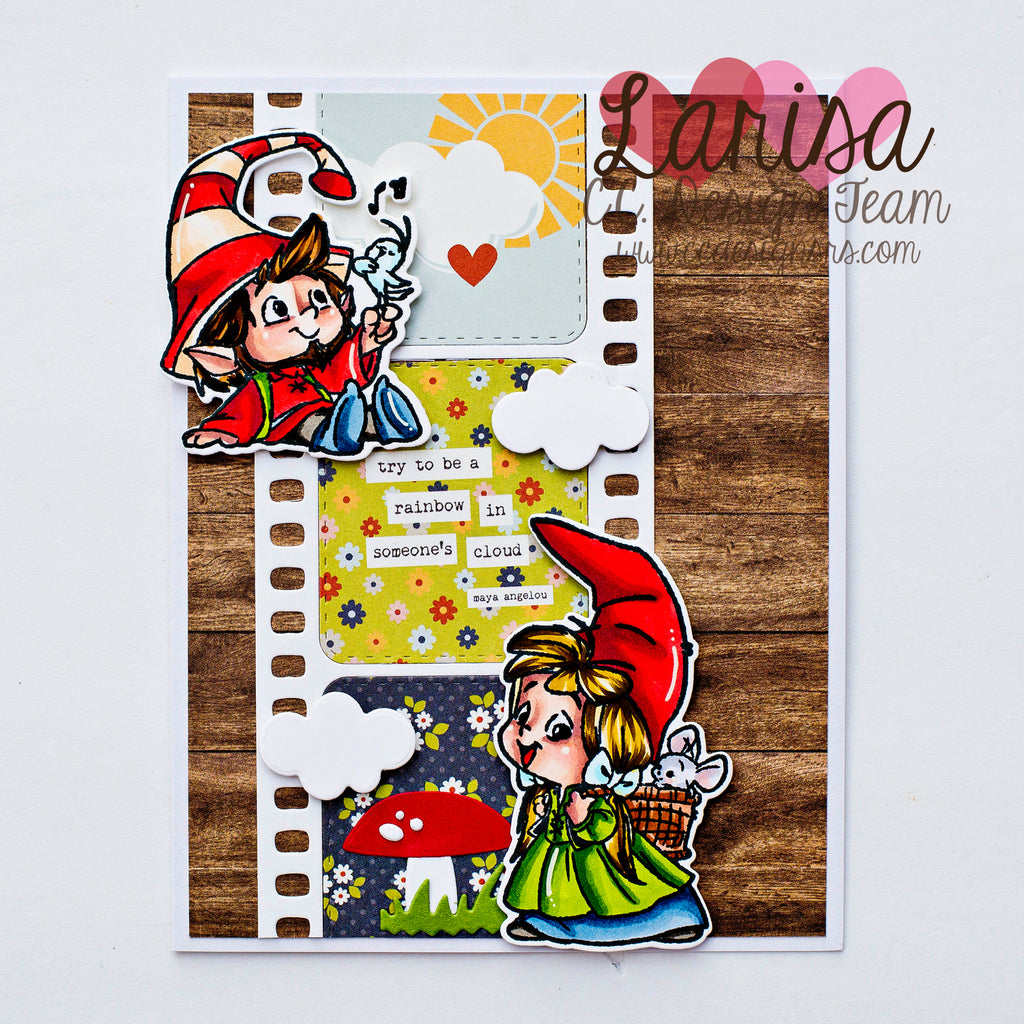
Hello, hello! I'm back today sharing another card from the new release! This little set is called Gnome Friends! It features the cutest little gnomes and some sweet little coordinating sentiments. To create my card, I started with some woodgrain patterned paper in my stash. I trimmed that to fit my card base and adhered it to the top. Then I die cut the film strip from some white card stock and added that to the left hand side of the card. I inlayed some patterned paper in each of the 3 open spots. Then I stamped out my...
Gnome Home
Posted by DESIGN TEAM
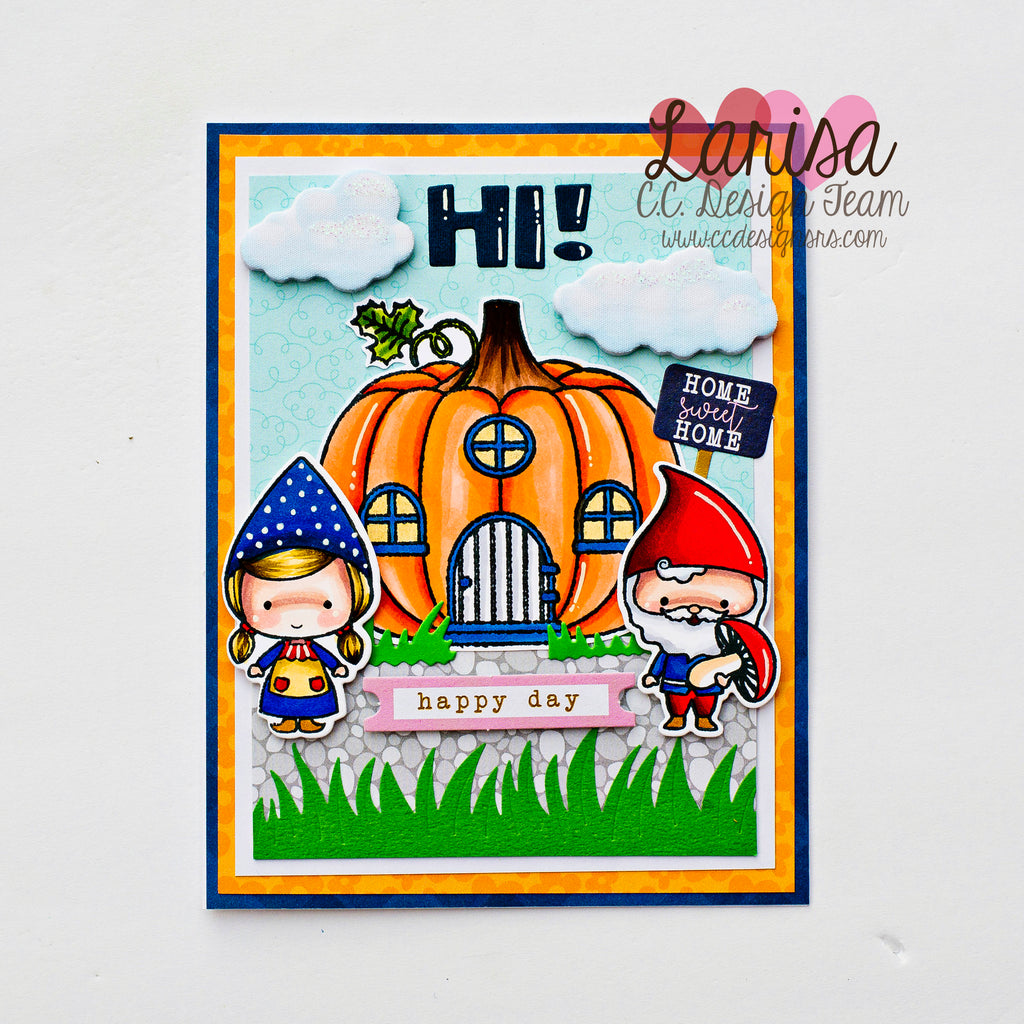
Hello! Larisa here and today I'm sharing a fun little card using the NEW Gnome Home Stamp Set. This set includes houses, giant flowers, and grassy accents to create the perfect little gnome scene! To create my card, I started with some patterned paper in my stash and trimmed it to fit the front of my card base. Then I added some "stone" paper to the bottom portion and built my scene from there. I stamped out the pumpkin house, colored it up with Copics, and fussy cut it out. Then I adhered it to the top of the stone paper...
Underwater Scene
Posted by DESIGN TEAM
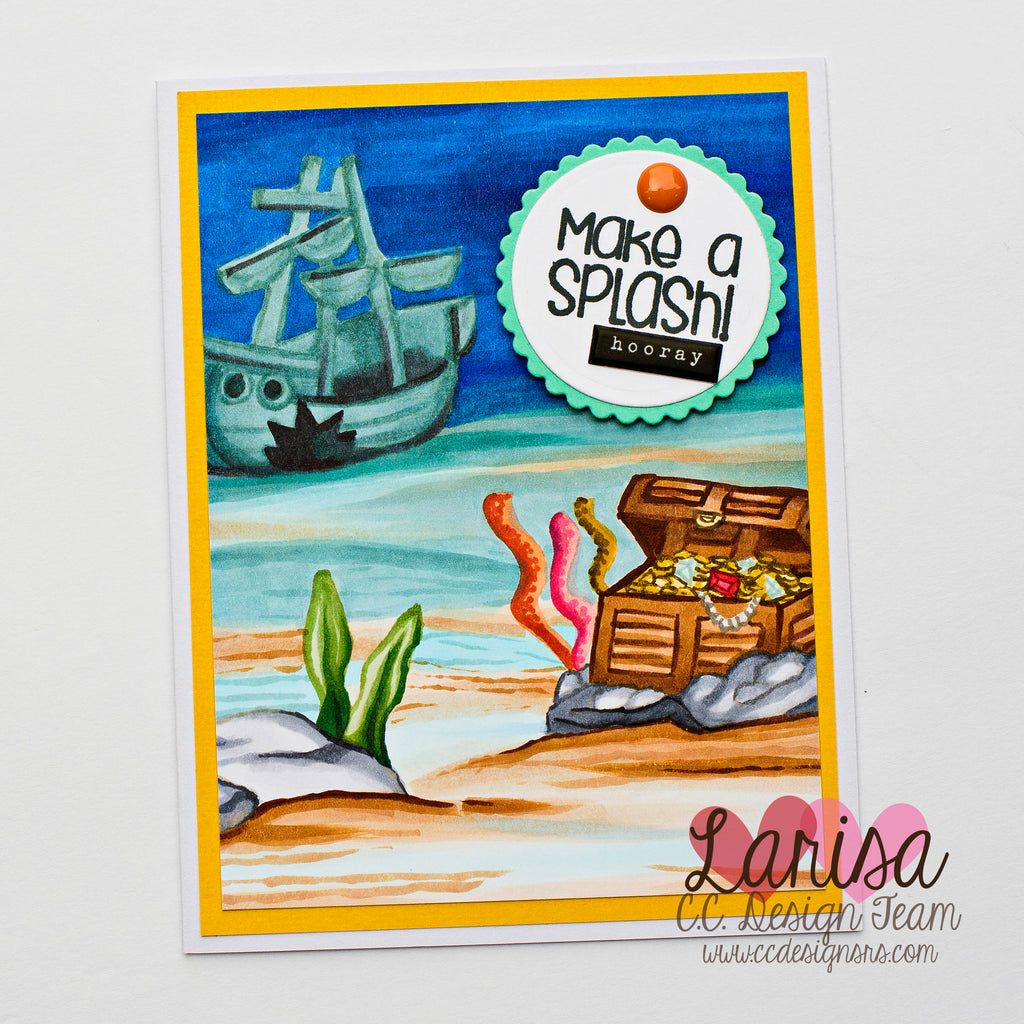
Hello, Larisa here and today, I'm sharing a very fun stamp set! This Underwater Scene set is perfect for all of your summer projects. You can pair it with sets in your stash or you can use it on its own! To create my card, I stamped my images in tan ink and colored them up with Copics. Then I stamped out my sentiment, die cut it into a circle, and added it to the top right of my card. I just love how this turned out. This set would be so perfect with any fish or mermaid stamps as...
Mermaid Party!
Posted by DESIGN TEAM
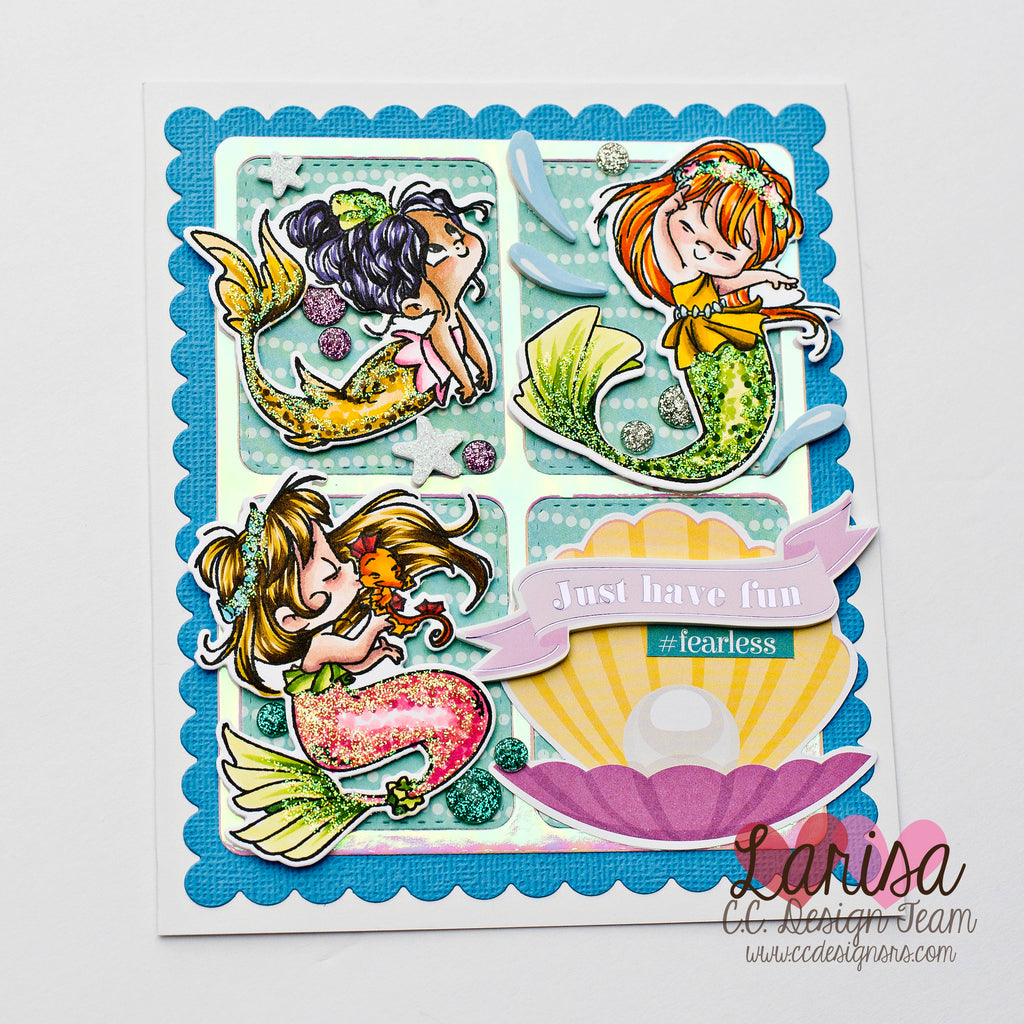
Hello! Larisa here and today, I'm sharing another fun mermaid card using the NEW Mermaid Party Clear Stamp Set! To create my card, I started with the NEW Scalloped Card Base Die. I used it to cut my card stock and patterned papers and layered them all together. Then I stamped out my images, colored them with Copics and cut them out using the Coordinating Dies. I used foam tape to add them to my card panel and embellished with some premade die cuts from my stash. I also added some sparkly gems, foam stickers, and lots of Stickles. I...
Sweet Panda Party
Posted by DESIGN TEAM
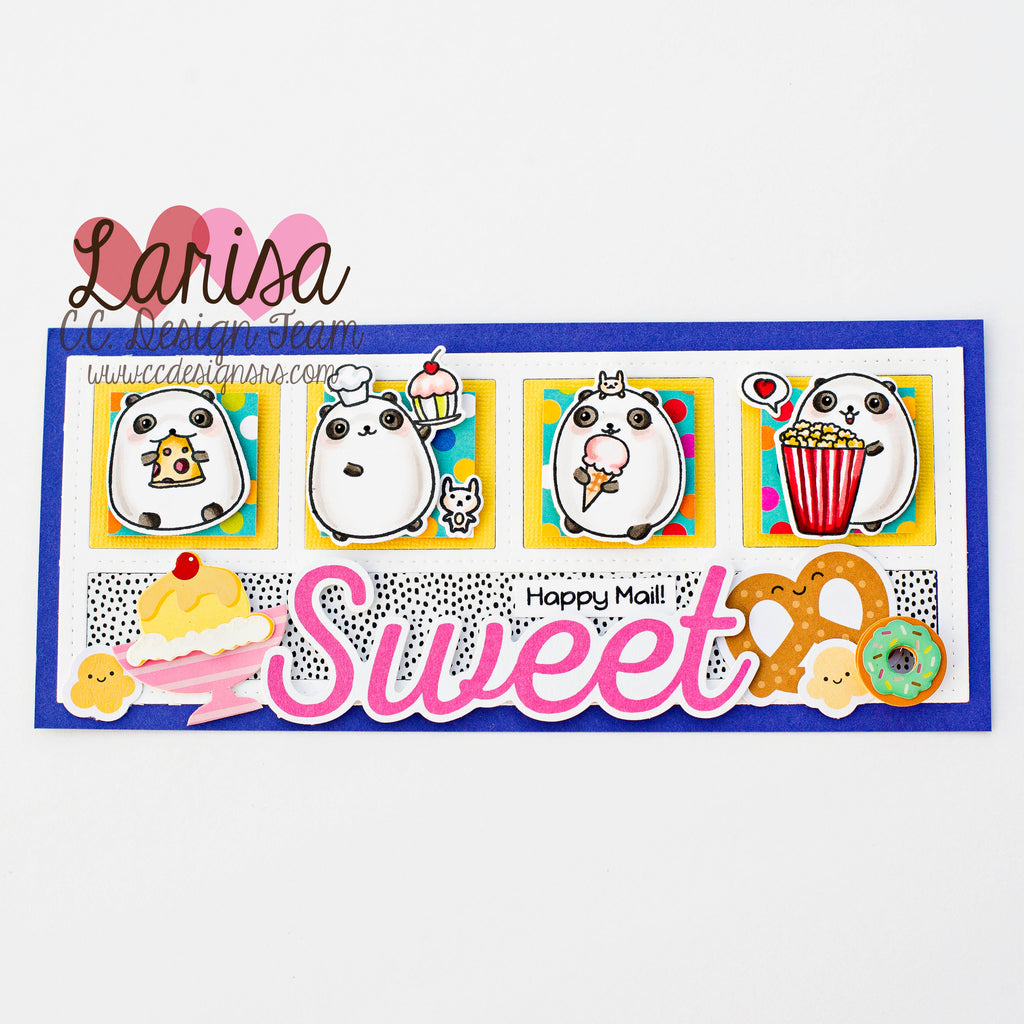
Hello! Larisa here and today I'm sharing a fun and very SWEET Panda Party Slimline Card! To create my card, I started with the Four Window Slimline Die. I cut that from white card stock and layered on top of some blue paper. Then I layered in some patterned paper to fill the holes. I stamped out my pandas, colored them up with Copics, and cut them out using the coordinating die set. Then I popped them into each of the squares using foam tape. For the bottom portion of the card, I used some premade ephemera in my stash...
Puppers Backyard Scene
Posted by DESIGN TEAM

Hello! Larisa here and today I'm sharing a sweet little card using the NEW Puppers Clear Stamp Set and Coordinating Dies. This set is packed full of adorable puppies, accessories, and sentiments! For my card, I started with some patterned paper in my stash. I layered it up on my card base and then started to build a little backyard scene in the middle of the card. I die cut a rectangle from blue card stock and layered on some patterned grass paper across the bottom half. Then I stamped, colored and cut out my images. I arranged them in...
You Give Me Courage
Posted by DESIGN TEAM

Hello! Larisa here. Today, I'm popping on with a sweet little card featuring the WOO Clear Stamp Set and Coordinating Dies. This set is so much fun to work with! I just love it! For my card, I kept things pretty simple. I used a piece of patterned paper from my stash and trimmed it to fit the front of my card. Then I stamped out my images, colored them up with Copics, and cut them out using the Coordinating Dies. Using foam tape, I adhered them to forest scene. Then I stamped my sentiment across the bottom and added...
Easter Egg Hunt Slimline Card
Posted by DESIGN TEAM
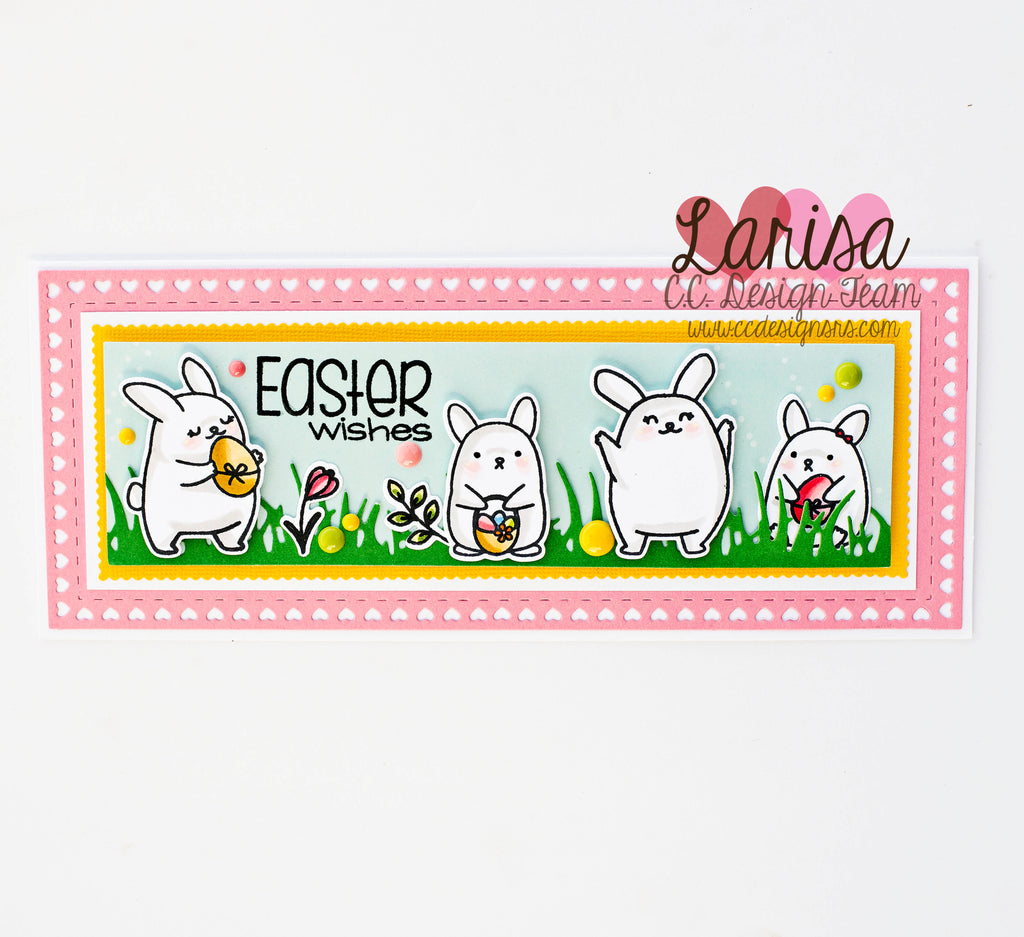
Hello! Larisa here. Today, I'm sharing a sweet little Easter Egg Hunt Slimline Card! Easter is just a little over a week away and I'm still wondering where the time has gone! For my card, I started with the Valentine Slimline Metal die and cut it out in pink card stock. Then I paired it with the Slimline Metal Die and added some layers of blue, yellow, and white. After adhering them all together, I added a strip of die cut grass. I stamped out my images, colored them up, and cut them out using the coordinating die. Then I added...


