
Background with stencil
Posted by DESIGN TEAM

Hello!
Today I show how I made the background for this map. I have chosen the grass and
clouds stencil and warm colors.
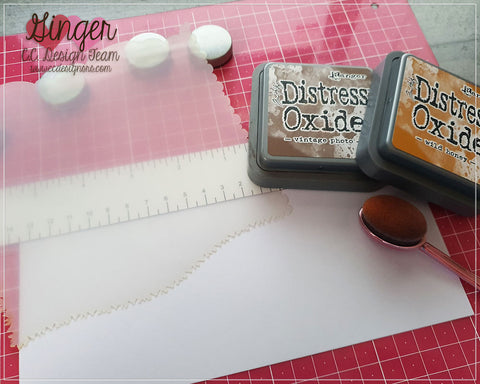
Even if I fix it with magnets, I still hold it with my fingers for a while. Then I go with the
brush on one of the stamp pads
and then with circular movements and without pressure I wipe over the stencil on the paper.
As I clean the brush at the end I take one for both colours and change back and forth.

The stencil is not long enough, but you can easily put it back in place and continue.

This is how I design a landscape. Just move the stencil again and again and go over it with the brush.

he cloud stamp is from the stamp set Spring Things

When I was satisfied I understood my letters and the cute fox from the new stamp set with FoamTape and glued it on.

With some paper, enamel dots and another saying the card looks like this:

Hugz Ginger
--
♥ ♥ ♥ ♥ ♥ ♥ ♥ ♥
Facebook: Privater Account
Instagram: colorfulcluttereddesk
♥ ♥ ♥ ♥ ♥ ♥ ♥ ♥
Facebook: Privater Account
Instagram: colorfulcluttereddesk
♥ ♥ ♥ ♥ ♥ ♥ ♥ ♥